主要想法
实现
在storyboard添加三个uiimageview,用来展示图片。而数组imagearray则用来保存图片对象。
|
1
2
3
4
5
6
7
8
|
@interface viewcontroller ()@property (strong, nonatomic) iboutlet uiimageview *middleimage;@property (strong, nonatomic) iboutlet uiimageview *leftimage;@property (strong, nonatomic) iboutlet uiimageview *rightimage;@property (strong, nonatomic) nsmutablearray *imagearray;@end |
在viewdidload方法中设置一些初始参数
|
1
2
3
4
5
6
7
8
9
10
11
12
13
14
15
16
17
18
|
- (void)viewdidload {[super viewdidload];[self initdata];[self initview];[self circleswipetomiddleimage];}- (void)initdata {self.imagearray = [nsmutablearray new];nsstring *imagename;for (int i = 0; i < 5; i++) { imagename = [nsstring stringwithformat:@"image%i", i]; [self.imagearray addobject:[uiimage imagenamed:imagename]];}} |
中间的uiimageview(middleimage)最开始展示的第一张图。
|
1
2
3
4
5
6
7
8
9
10
11
12
|
- (void)initview {self.middleimage.image = self.imagearray[0];//在imageview中添加外框,比较容易区分三张图片的位置[self addborder:self.middleimage];[self addborder:self.leftimage];[self addborder:self.rightimage];}- (void)addborder:(uiimageview *)imageview {imageview.layer.borderwidth = 1.0;imageview.layer.bordercolor = [uicolor lightgraycolor].cgcolor;} |
接着在self.view上添加swipe手势,分别是向左和向右轻扫。swipe手势必须要指定direction轻扫方向,否则默认是向右轻扫。
|
1
2
3
4
5
6
7
8
9
10
11
12
13
|
#pragma mark - 图片循环播放- (void)circleswipetomiddleimage {uiswipegesturerecognizer *gesture1 = [[uiswipegesturerecognizer alloc] initwithtarget:self action:@selector(circleswipeimagetoright)];gesture1.direction = uiswipegesturerecognizerdirectionright;self.view.userinteractionenabled = yes;uiswipegesturerecognizer *gesture2 = [[uiswipegesturerecognizer alloc] initwithtarget:self action:@selector(circleswipeimagetoleft)];gesture2.direction = uiswipegesturerecognizerdirectionleft;[self.view addgesturerecognizer:gesture1];[self.view addgesturerecognizer:gesture2];} |
然后实现轻扫响应方法。
向右轻扫,middleimage显示下一张图片,则图片的下标index是当前展示图片的下标 + 1。而为了实现无限循环并不超出数组的下标范围,则需要%图片数据的张数。
|
1
2
3
4
5
6
7
8
9
10
|
/** 向右轻扫响应方法 */- (void)circleswipeimagetoright {uiimage *currentimage = self.middleimage.image;nsinteger index = [self.imagearray indexofobject:currentimage];index = (index + 1) % self.imagearray.count; [self changeanimation:index toright:yes];} |
向左轻扫,middleimage显示上一张图片,则图片的下标index是当前展示图片的下标 - 1。而为了实现无限循环并不超出数组的下标范围,则需要加上图片的张数之后在%图片的张数。
|
1
2
3
4
5
6
7
8
9
10
|
/** 向左轻扫响应方法 */- (void)circleswipeimagetoleft {uiimage *currentimage = self.middleimage.image;nsinteger index = [self.imagearray indexofobject:currentimage];index = (index - 1 + self.imagearray.count) % self.imagearray.count;[self changeanimation:index toright:no];} |
最后是对middleimage.layer添加动画。
|
1
2
3
4
5
6
7
8
9
10
11
12
13
14
15
16
17
18
19
20
21
22
23
24
25
26
27
28
29
30
31
|
#pragma mark - 添加动画/** 为middleimage添加动画效果 @param index 图片数组下标 @param toright 是否是向右滑动 */- (void)changeanimation:(nsinteger)index toright:(bool)toright {catransition *transition = [catransition animation];transition.type = kcatransitionreveal; //设置动画过渡的方式if (toright) { //向右滑动,则图片是由左向右运动 transition.subtype = kcatransitionfromleft;}else { //向左滑动,则图片是由右向左运动 transition.subtype = kcatransitionfromright;}//将动画添加middleiamge.layer上[self.middleimage.layer addanimation:transition forkey:nil];nsinteger count = self.imagearray.count;if (index >= 0 && index < count) { //更改middleimage展示的图片 self.middleimage.image = self.imagearray[index];}} |
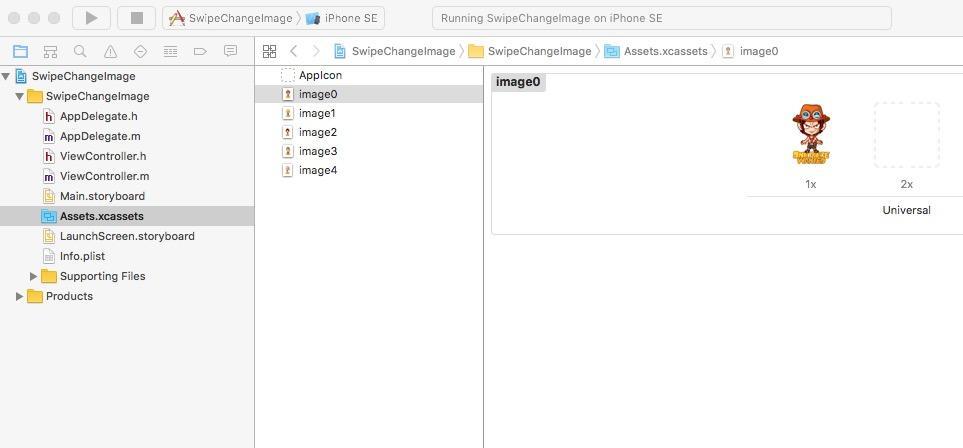
还有,图片可以选中了之后直接拉到项目的assets.xcassets里面
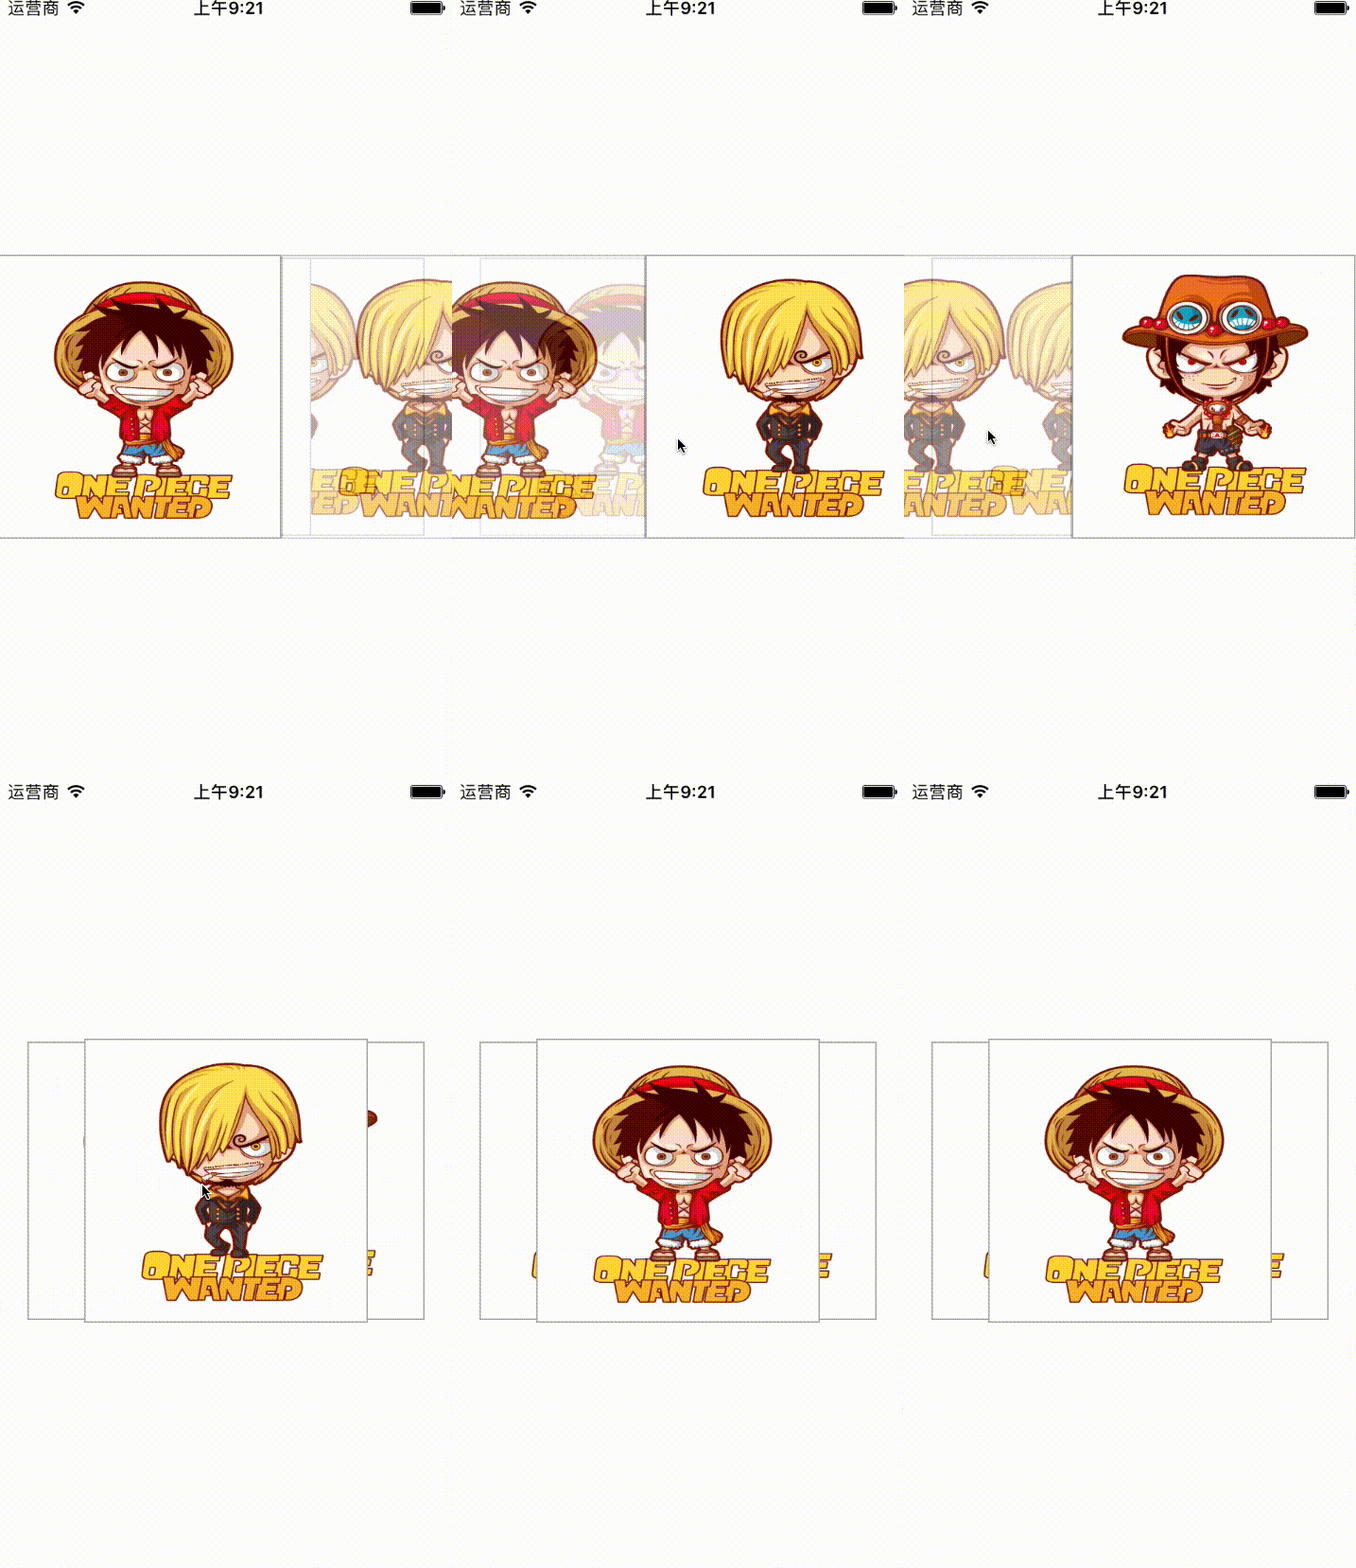
最终效果如下:
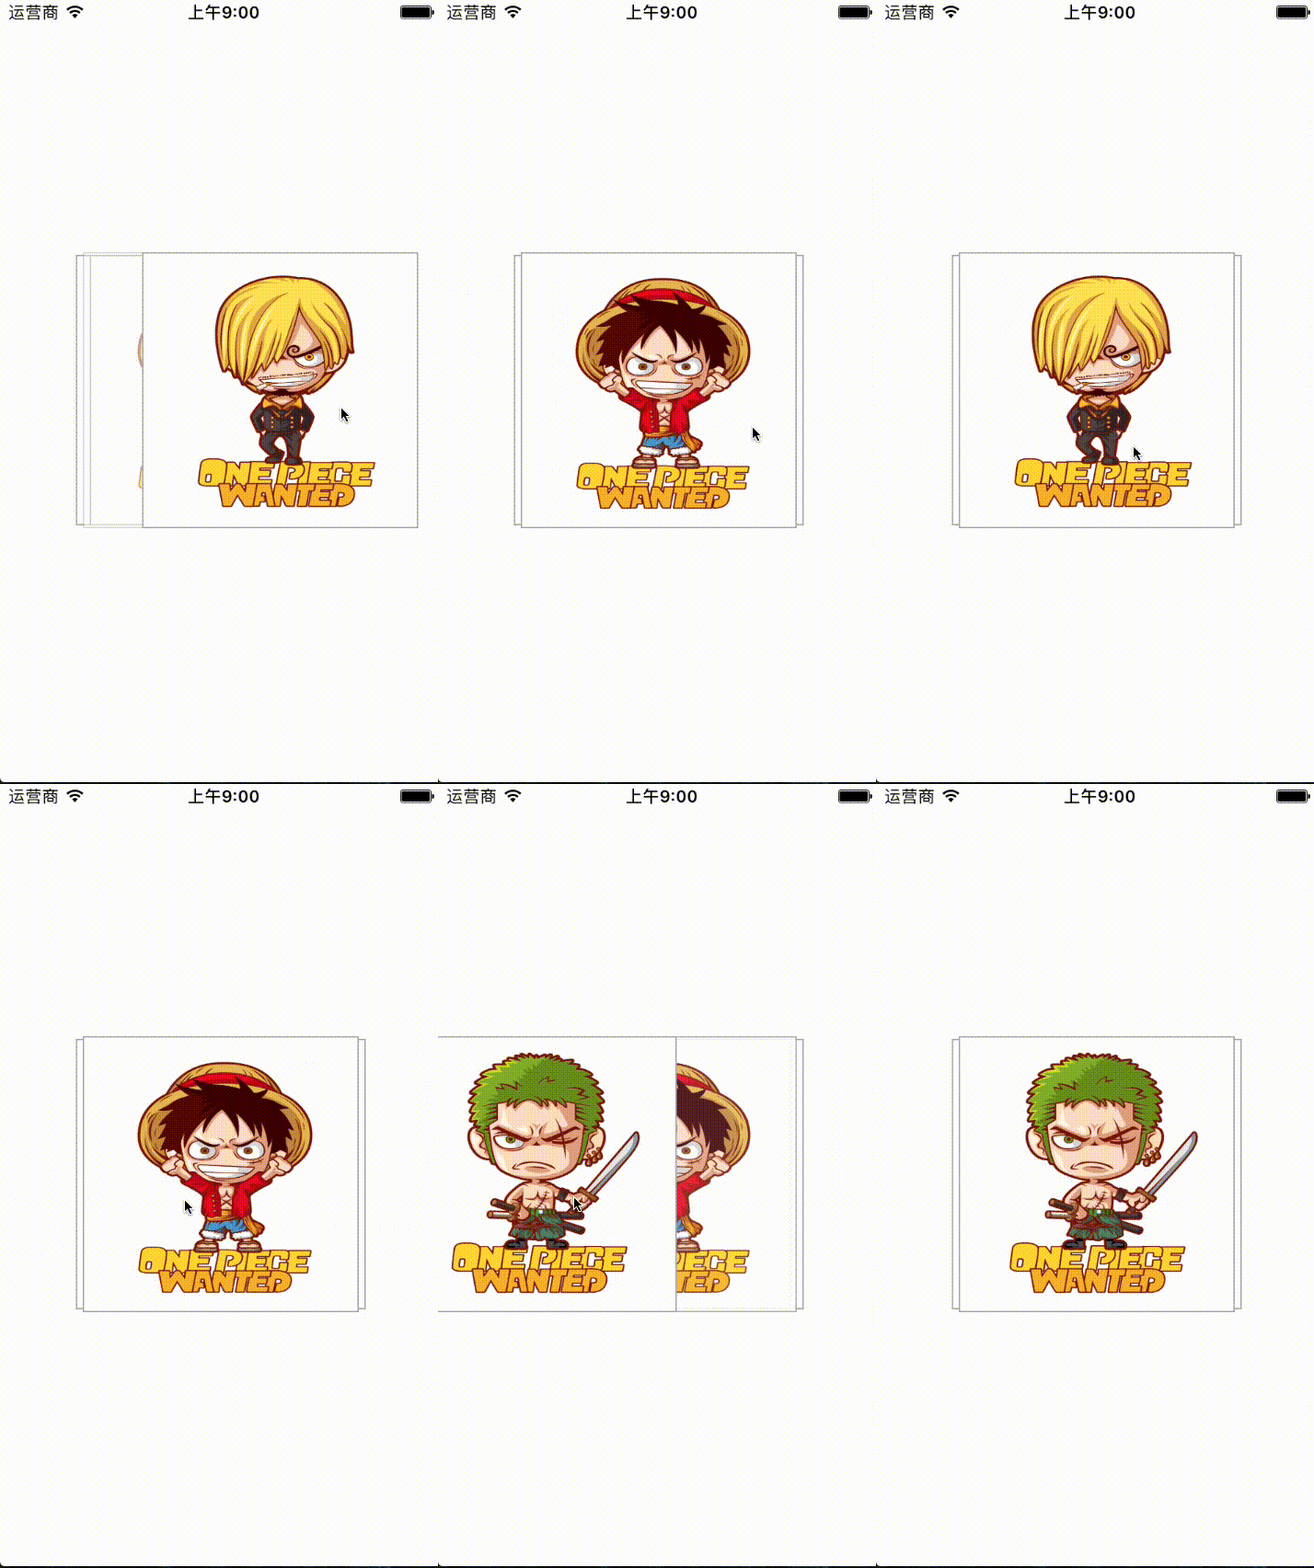
其实在这个项目中,leftimage和rightimage都没有显示图片,可以去掉,为了展示有多张图片的效果,可以在middleimage后面添加一个加了边框的uiview。
而在这个项目中,有一个局限,就是transition.type 只能指定是kcatransitionreveal格式,其他的格式的过渡效果都比较差。可以使leftimage和rightimage展示图片,然后将位置调整一下,并且修改transition.type看一下效果。下面是更改为kcatransitionpush的效果。
以上就是本文的全部内容,希望对大家的学习有所帮助,也希望大家多多支持服务器之家。
原文链接:http://www.cnblogs.com/liseylee/p/6482802.html


