1.场景布置

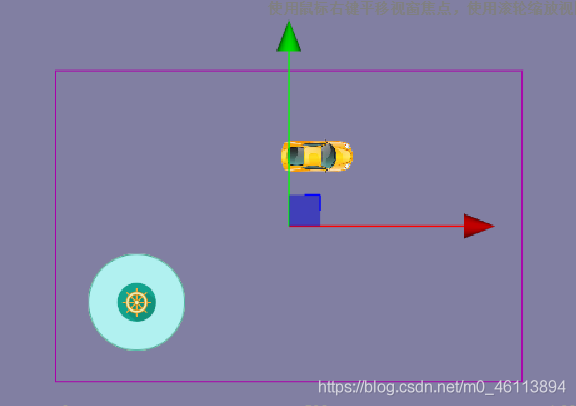
2. 添加手柄监听器
1.监听事件的变化
由原先的mouse系列的转换为touch系列的
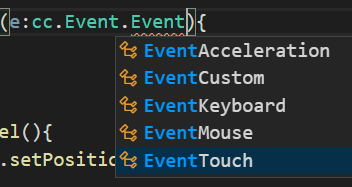
- touchstart 触摸按下,相当于 mousedown
- touchmove 触摸移动,相当于 mousemove
- touchend 触摸抬起,相当于 mouseup
- touchcancel 触摸取消,被其他事件终止,相当于按下了ESC键
2.坐标设定
当触摸按下随推动位置变化(要用世界坐标转换),触摸抬起后回归原位(直接设定0,0坐标默认相对坐标)。
setPosition()设定的为相对父节点的坐标
  onTouchMove(e:cc.Event.EventTouch){

         // e.getLocation() 为点击的位置,是世界坐标
        // 需要把世界坐标转换为本地坐标

        let parent=this.node.parent;// 父节点 (圆形底盘)
        let pos:cc.Vec2=parent.convertToNodeSpaceAR(e.getLocation());
        this.node.setPosition(pos);

    }

    onTouchCancel(){
      this.node.setPosition(cc.v3(0,0,0));
    }
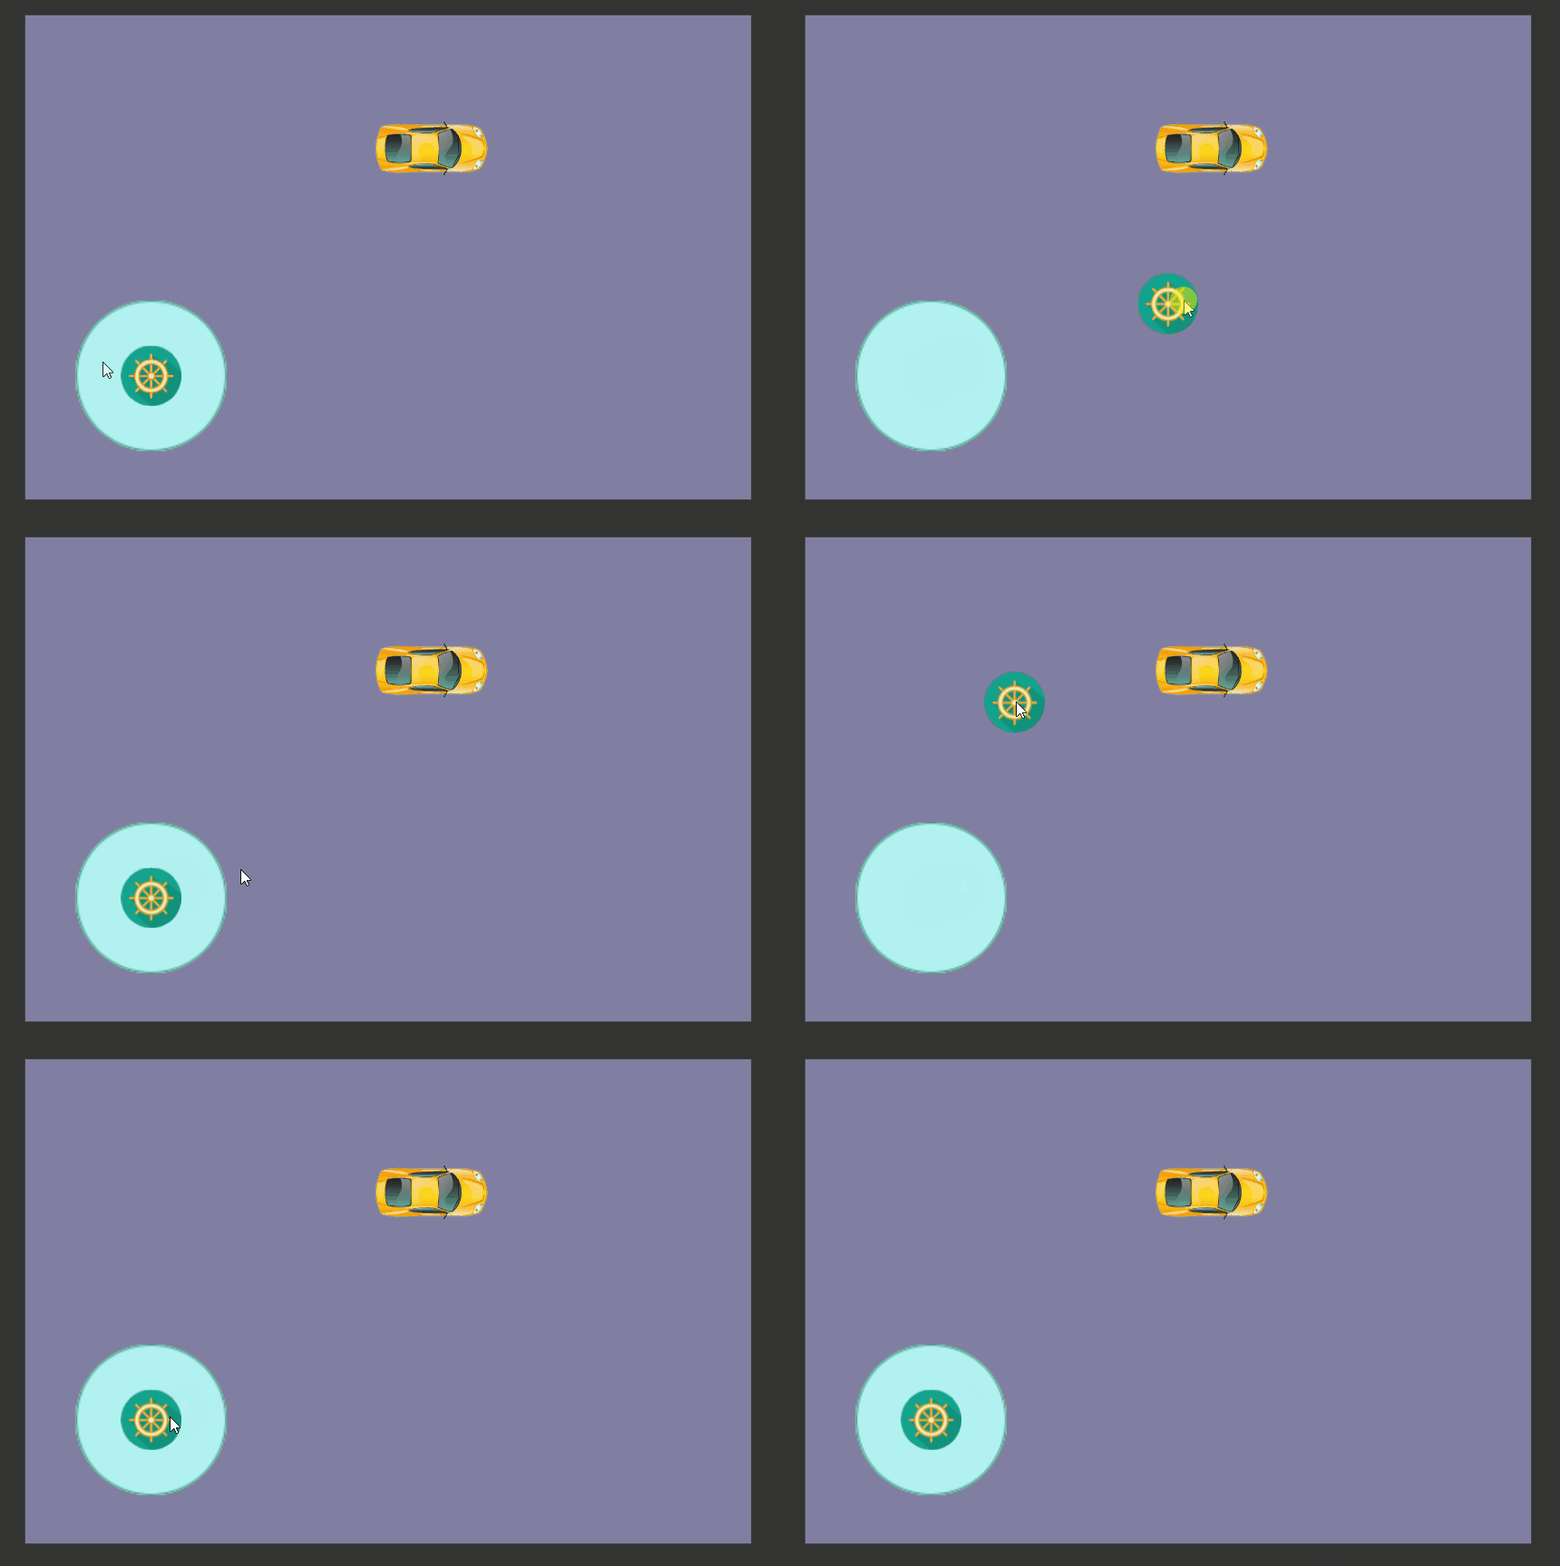
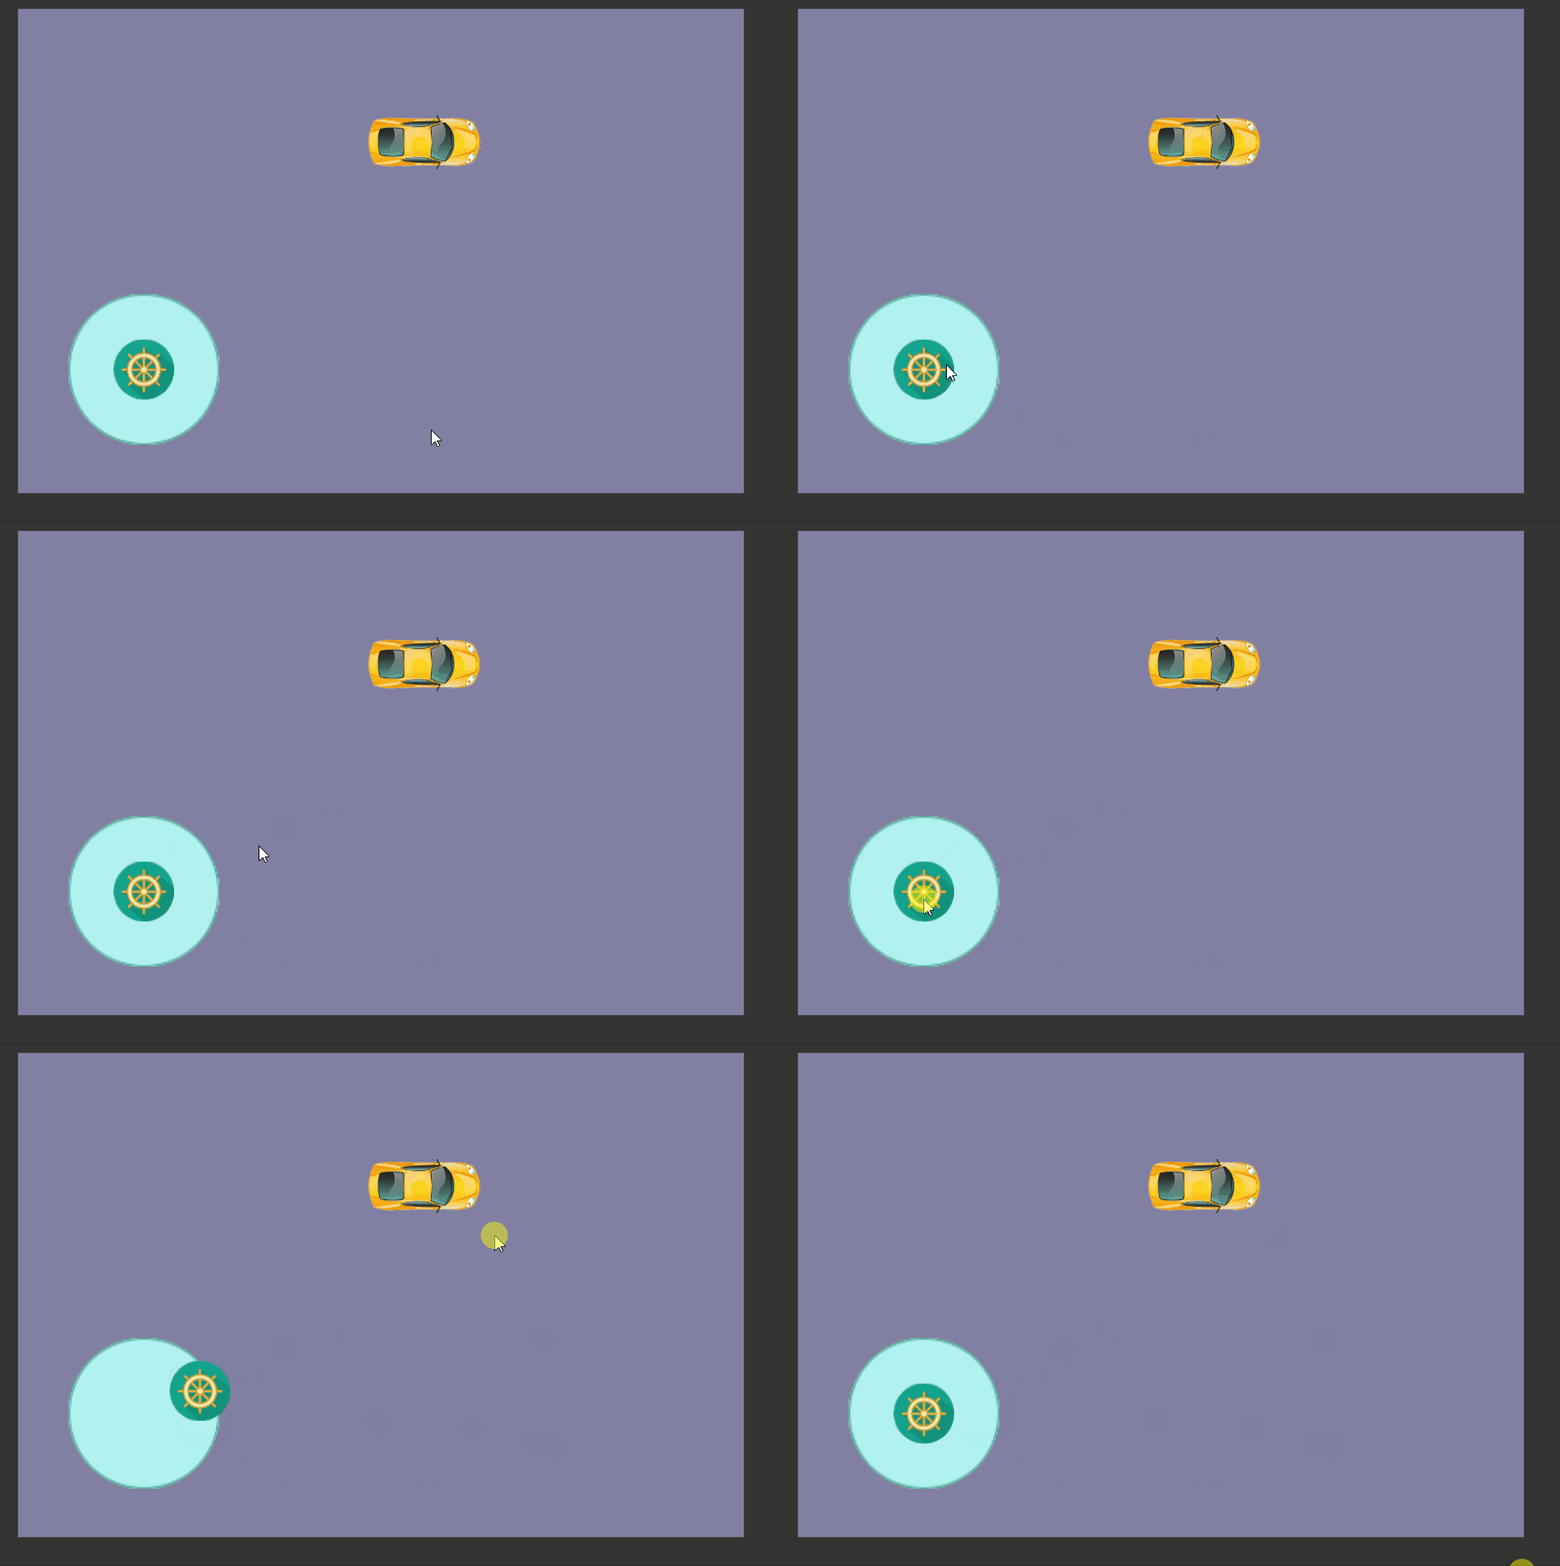
3. 将手柄限制在托盘内
使用方位角来定位边缘位置。pos.normalize()方法返回该点相对于(0,0)的(cos, sin),返回Vec2对象。
let parent=this.node.parent;// 父节点 (圆形底盘)
let pos:cc.Vec2=parent.convertToNodeSpaceAR(e.getLocation());
// 该点所在的方位 (cos, sin)
let direction:cc.Vec2=pos.normalize();
// 限制在边界之内
let maxR = 100-20;
//点击的点到托盘中央的距离
let r : number = cc.Vec2.distance(pos, cc.v2(0,0));

if( r > maxR)
{
	pos.x = maxR * direction.x;
	pos.y = maxR * direction.y;
}
// cc.log("相对位置: " + pos.x + ", " + pos.y);
this.node.setPosition( pos);
3. 添加小车的控制
1. 小车的旋转
cc.Node.angle
表示旋转的角度,逆时针为正
官方建议不要使用 cc.Node.rotationa.signAngle( b)
a和b为两个向量,返回值是一a,b的夹角 (弧度值)
radian = a.signAngle(b)
(1) a位于b的顺时针方向:角度为正
(2) a位于b的逆时针方向:角度为负
旋转实现:
添加属性 car :cc.Node=null;获取小车节点。
cc.find()注意参数用"/"除号的斜杠,否则识别不到
onLoad () {
     this.car=cc.find("Canvas/小车");
}
let radian=pos.signAngle(cc.v2(1,0));//计算点击位置与水平的夹角
let ang=radian/Math.PI*180;//弧度制转换为角度值
this.car.angle=-ang;//逆时针为正,所以这里要调整至顺时针

2. 小车的移动 .
- 在小车的脚本中添加前进的动画,update(dt)方法中让x和y每帧加对应的速度在x和y轴的分量。
- 在手柄控制脚本中获取小车节点下的脚本。通过上面获取的direction的方向角,传入小车脚本中。通过控制direction来控制小车的移动。
小车运动脚本
direction: cc.Vec2 = null;
speed: number = 3;

onLoad() {

}

start() {

}

update(dt) {
	if (this.direction == null) return; //静止
	let dx = this.speed * this.direction.x;
	let dy = this.speed * this.direction.y;

	let pos = this.node.getPosition();
	pos.x += dx;
	pos.y += dy;
	this.node.setPosition(pos);
}
手柄控制脚本
car: cc.Node = null;
carscript: cc.Component = null;
// LIFE-CYCLE CALLBACKS:

onLoad() {
	this.car = cc.find("Canvas/小车");
	this.carscript = this.car.getComponent("CarMove");
}

start() {
	this.node.on("touchstart", this.onTouchStart, this);
	this.node.on("touchmove", this.onTouchMove, this);
	this.node.on("touchend", this.onTouchCancel, this);
	this.node.on("touchcancel", this.onTouchCancel, this);
}

onTouchStart() {

}

onTouchMove(e: cc.Event.EventTouch) {

	// e.getLocation() 为点击的位置,是世界坐标
	// 需要把世界坐标转换为本地坐标

	// let parent=this.node.parent;// 父节点 (圆形底盘)
	// let pos:cc.Vec2=parent.convertToNodeSpaceAR(e.getLocation());
	// this.node.setPosition(pos);

	let parent = this.node.parent; // 父节点 (圆形底盘)
	let pos: cc.Vec2 = parent.convertToNodeSpaceAR(e.getLocation());
	// 该点所在的方位 (cos, sin)
	let direction: cc.Vec2 = pos.normalize();
	// 限制在边界之内
	let maxR = 100 - 20;

	let r: number = cc.Vec2.distance(pos, cc.v2(0, 0));

	if (r > maxR) {
		pos.x = maxR * direction.x;
		pos.y = maxR * direction.y;
	}
	// cc.log("相对位置: " + pos.x + ", " + pos.y);
	this.node.setPosition(pos);

	let radian = pos.signAngle(cc.v2(1, 0)); //计算点击位置与水平的夹角
	let ang = radian / Math.PI * 180; //弧度制转换为角度值
	this.car.angle = -ang; //逆时针为正,所以这里要调整至顺时针

	this.carscript.direction = direction;

}

onTouchCancel() {
	this.node.setPosition(cc.v3(0, 0, 0));
	//将方向置空,使汽车停止
	this.carscript.direction = null;

}
// update (dt) {}
最终效果
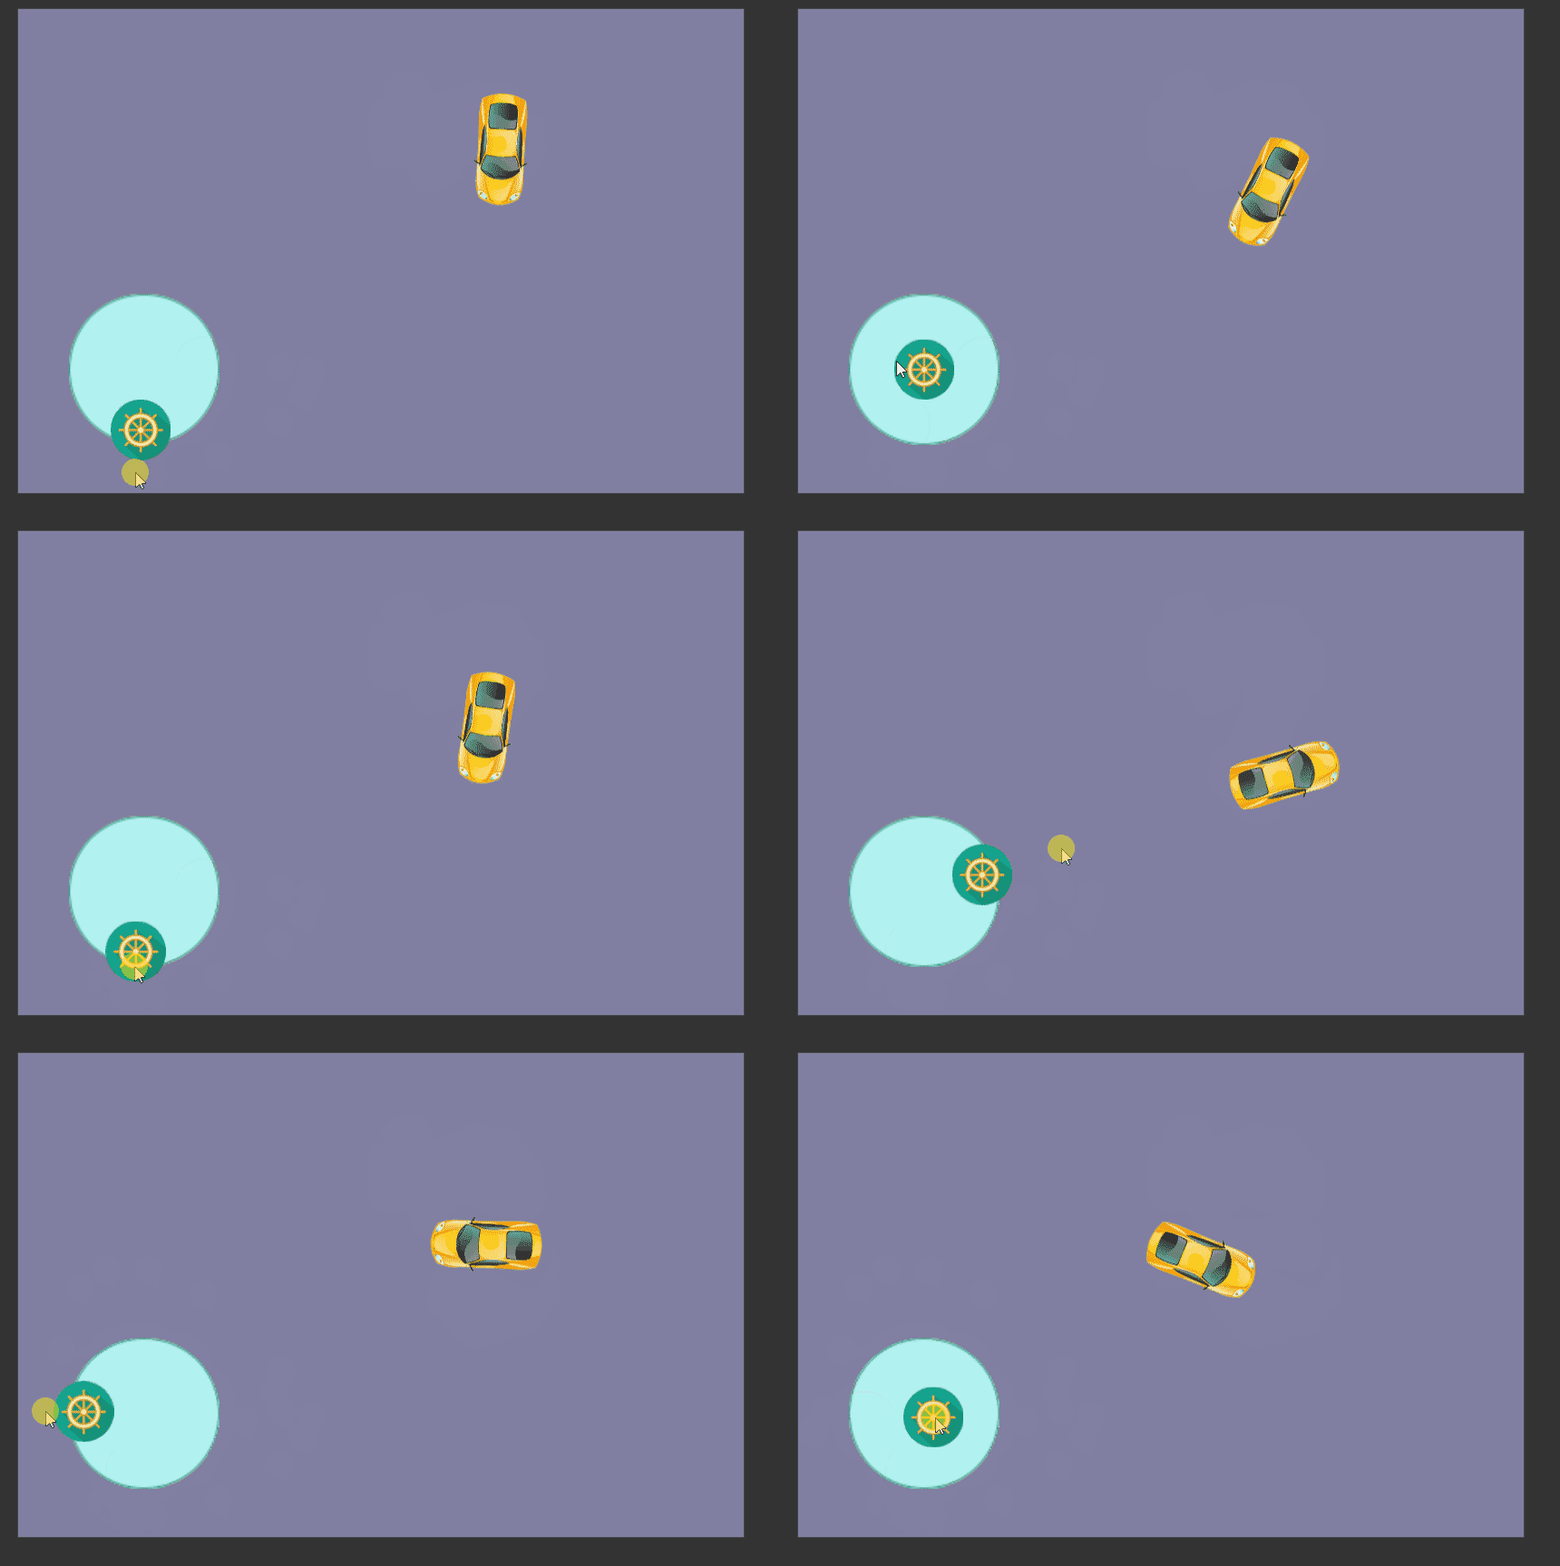
以上就是怎样在CocosCreator中使用游戏手柄的详细内容,更多关于CocosCreator手柄实例的资料请关注服务器之家其它相关文章!
原文链接:https://blog.csdn.net/m0_46113894/article/details/109748542

