本文实例为大家分享了Unity控制指针旋转到指定位置的具体代码,供大家参考,具体内容如下
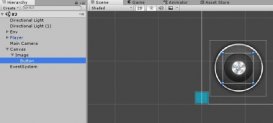
一、搭建基础的表盘、指针
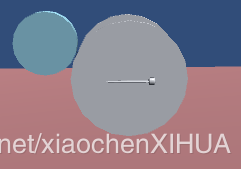
二、编写控制指针旋转到指定位置的脚本:
|
1
2
3
4
5
6
7
8
9
10
11
12
13
14
15
16
17
18
19
20
21
22
23
24
25
26
27
28
29
30
31
32
33
34
35
36
37
38
39
40
41
42
43
44
45
46
47
48
49
50
51
52
53
54
55
56
57
58
59
60
61
|
using UnityEngine;using System.Collections; public class Test_OnDashboard : MonoBehaviour{ public int thiAngle = 0; public int rotateSpeed = 2; public bool openRotate = false; // Use this for initialization void Start () { } // Update is called once per frame void Update () { if (Input.GetKeyDown(KeyCode.T)) { openRotate = true; StartCoroutine(stop()); } if (openRotate) { PointerRotate(); } } /// <summary> /// 控制指针旋转 /// </summary> private void PointerRotate() { if (thiAngle > -0.001f && thiAngle <= 180) { Quaternion target = Quaternion.Euler(0, 0, (90 - thiAngle)); transform.rotation = Quaternion.RotateTowards(transform.rotation, target, rotateSpeed); } } /// <summary> /// 停止检测 /// </summary> /// <returns></returns> private IEnumerator stop() { yield return new WaitForSeconds(2); openRotate =false; Debug.Log("tingzhi"); } } |
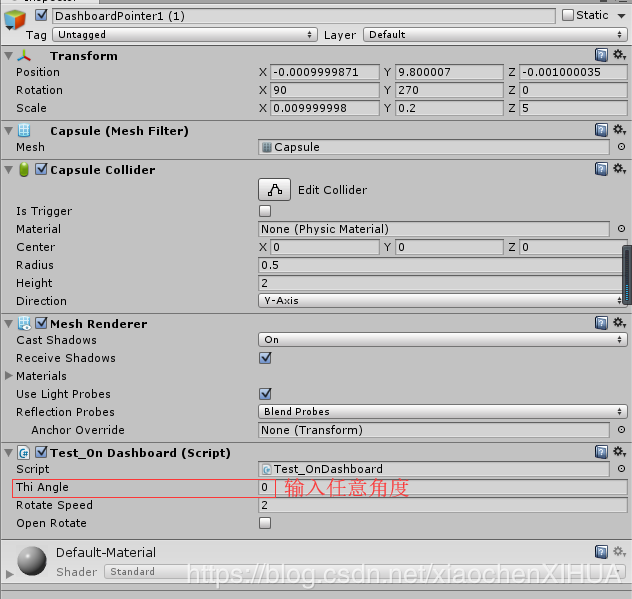
三、将该脚本添加给指针物体,然后运行输入对应的旋转角度指针即可旋转
以上就是本文的全部内容,希望对大家的学习有所帮助,也希望大家多多支持服务器之家。
原文链接:https://blog.csdn.net/xiaochenXIHUA/article/details/83411344


