总结:本篇文章介绍使用gregwar/captcha实现验证码的具体操作步骤,以及可能遇到的问题和解决办法。
操作步骤:
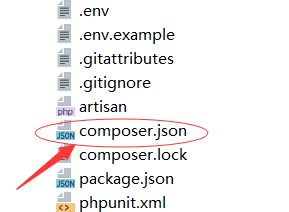
1, 在laravel5.4项目根目录下找到 composer.json 这个文件,

添加
"gregwar/captcha": "1.*" 到composer.json这个文件中,如下图所示。

2. 然后打开命令行,找到项目的根目录,运行composer update,

可以看到这个扩展库已经下载好了,
3.接下来,就可以正常使用验证码了,先测试验证码是否可以正常显示出来,
先定义路由:

然后在控制层里新建一个codecontroller.php,
|
1
2
3
4
5
6
7
8
9
10
11
12
13
14
15
16
17
18
19
20
21
22
23
24
|
<?php namespace app\http\controllers;use app\http\requests;use app\http\controllers\controller;use illuminate\http\request;//引用对应的命名空间use gregwar\captcha\captchabuilder;use session;class codecontroller extends controller{ public function captcha($temp) { $builder = new captchabuilder(); $builder->build(150,32); $phrase = $builder->getphrase(); //把内容存入session session::flash('milkcaptcha', $phrase); //存储验证码 ob_clean(); return response($builder->output())->header('content-type','image/jpeg'); }} |
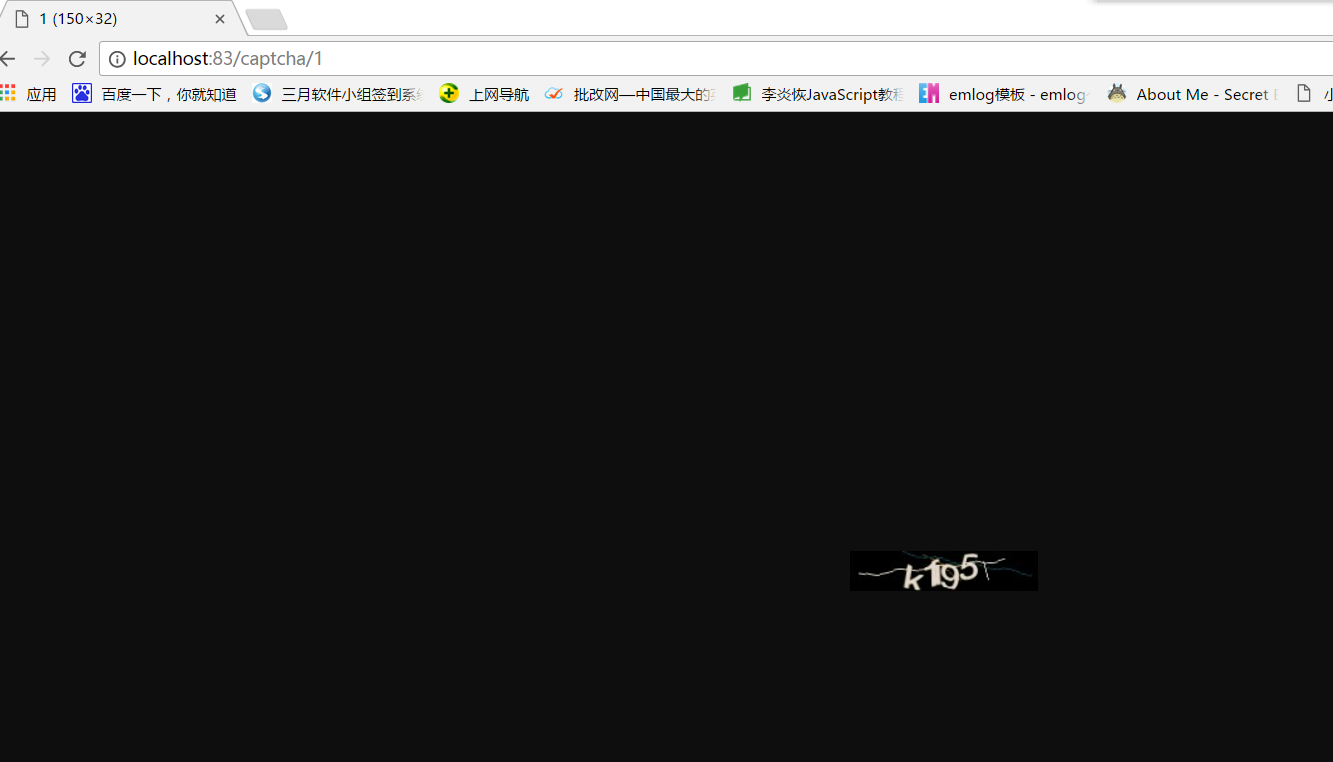
然后在浏览器里访问之前定义好的路由,就能看到验证码了

另外,还可以在composer.json中这样写,

还是在项目根目录执行composer update,然后在执行composer dump-autoload 命令。
同样可以达到效果。
最后,说一下我曾经遇到的问题,网上好多生成laravel验证码图片都是这样写的,
|
1
2
3
4
5
6
7
8
9
10
11
12
13
14
15
|
public function code($tmp){//生成验证码图片的builder对象,配置相应属性$builder = new captchabuilder;//可以设置图片宽高及字体$builder->build($width = 100, $height = 40, $font = null);//获取验证码的内容$phrase = $builder->getphrase();//把内容存入sessionsession::flash('milkcaptcha', $phrase);//生成图片header("cache-control: no-cache, must-revalidate");header('content-type: image/jpeg');$builder->output();} |
我照着试了试,结果验证码图片显示乱码,不显示图片,如下图:

后来改了改
|
1
2
3
4
5
6
7
8
9
10
|
public function captcha($temp) { $builder = new captchabuilder(); $builder->build(150,32); $phrase = $builder->getphrase(); //把内容存入session session::flash('milkcaptcha', $phrase); //存储验证码 ob_clean(); return response($builder->output())->header('content-type','image/jpeg'); } |
就可以正常显示了。
以上这篇laravel5.4生成验证码的实例讲解就是小编分享给大家的全部内容了,希望能给大家一个参考,也希望大家多多支持服务器之家。


