本文实例为大家分享了java实现登录验证码的具体代码,供大家参考,具体内容如下
1、ValidateCode.java
|
1
2
3
4
5
6
7
8
9
10
11
12
13
14
15
16
17
18
19
20
21
22
23
24
25
26
27
28
29
30
31
32
33
34
35
36
37
38
39
40
41
42
43
44
45
46
47
48
49
50
51
52
53
54
55
56
57
58
59
60
61
62
63
|
import java.awt.Color;import java.awt.Font;import java.awt.Graphics;import java.awt.image.BufferedImage;import java.io.IOException;import java.io.OutputStream;import java.util.Random;import javax.imageio.ImageIO;import javax.servlet.ServletException;import org.springframework.stereotype.Service;/** * 登录验证码 * */public class ValidateCode { /** * 得到验证码图片 * @param out * @param number 验证数字 * @throws ServletException * @throws IOException */ public void getImage(OutputStream out,String number) throws ServletException, IOException { //0.创建空白图片 BufferedImage image=new BufferedImage(100,30,BufferedImage.TYPE_INT_RGB); //1.获取图片画笔 Graphics g = image.getGraphics(); Random r=new Random(); //2.设置画笔颜色(Random类中的nextInt(n)返回一个大于等于0,小于n的随机数) g.setColor(new Color(r.nextInt(255),r.nextInt(255), r.nextInt(255))); //3.绘制矩形的背景 g.fillRect(0, 0, 100, 30); //4.调用自定义的方法,获取长度为4的字母数字组合的字符串 g.setColor(new Color(0,0,0)); g.setFont(new Font(null,Font.BOLD,24)); //5.设置颜色字体后,绘制字符串(x/y,最左边字符所处的位置) g.drawString(number, 20, 24); //6.绘制8条干扰线(alpha表示透明度) for(int i=0;i<8;i++){ g.setColor(new Color(r.nextInt(255),r.nextInt(255), r.nextInt(255),r.nextInt(255))); g.drawLine(r.nextInt(100), r.nextInt(30), r.nextInt(100), r.nextInt(30)); } ImageIO.write(image, "jpeg", out); } //自定义方法,获取长度为size的字母数字组合的字符串 public String getNumber(int size){ String str="ABCDEFGHIJKLMNOPQRSTUVWXYZ0123456789"; String number=""; Random r = new Random(); for(int i=0;i<size;i++){ number+=str.charAt(r.nextInt(str.length())); } return number; }} |
2、Controller
|
1
2
3
4
5
6
7
8
9
10
11
12
13
|
@RequestMapping(value = "/check",method={RequestMethod.GET}) @ResponseBody public void check(HttpServletRequest req) { try { HttpServletResponse response = this.getResponse(); response.setContentType("application/octet-stream"); response.addHeader("Content-Disposition", "attachment;filename=" + "vcode.jpeg"); String number = validateCode.getNumber(4); validateCode.getImage(response.getOutputStream(),number); } catch (Exception e) { } } |
3、html
|
1
|
<img style="width:4.4rem;height:1.9rem; margin-left:0.8rem;" src="http://127.0.0.1:8080/test/check"> |
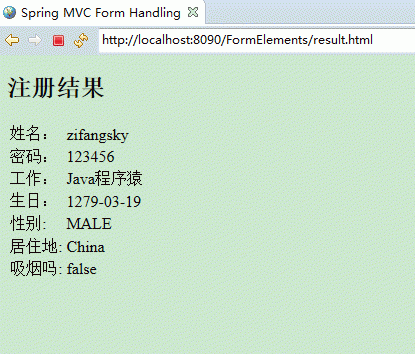
效果图

以上就是本文的全部内容,希望对大家的学习有所帮助,也希望大家多多支持服务器之家。
原文链接:https://www.cnblogs.com/zwdx/archive/2018/06/22/9213081.html


