有数据分析,数据挖掘,以及机器学习和深度学习实践经验的读者应该会对Jupyter Notebook这一工具十分熟悉,而JupyterLab是它的升级版本,其提供了更具扩展性,更加可定制化的功能选项。
安装与启动JupyterLab的方法与Jupyter Notebook一样简单。
应用安装
|
1
|
pip install jupyterlab |
应用启动
|
1
|
jupyter lab |
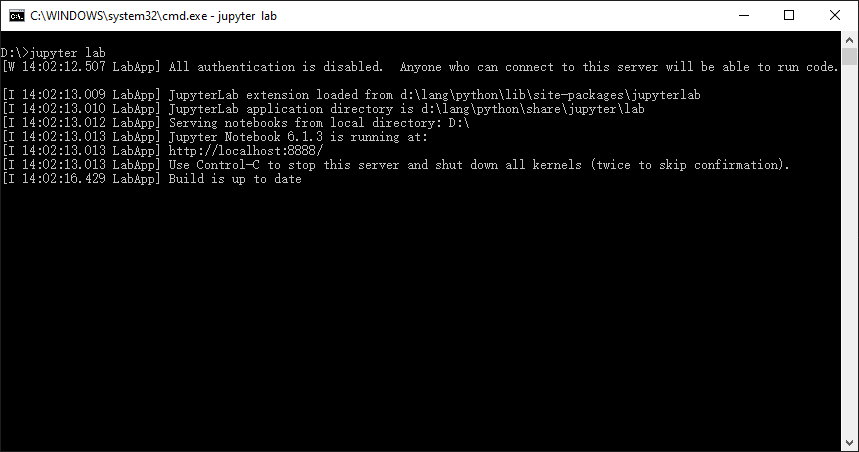
但这样的操作会带来一个问题,在以浏览器打开JupterLab应用窗口的同时,必须始终保证命令行窗口同样处于打开状态。如下图所示:

要想解决这样的问题,需要将JupyterLab以Windows Service的方式运行。
而Python代码要在Windows系统里创建Service的话要用到win32serviceutil这个类库。
类库安装
|
1
|
pip install pywin32 |
服务代码
将以下代码保存为jupyterlabservice.py文件,并放在配置目录之下,如C:\Users\Ken\.jupyter。
|
1
2
3
4
5
6
7
8
9
10
11
12
13
14
15
16
17
18
19
20
21
22
23
24
25
26
27
28
29
30
31
32
33
34
35
36
37
38
39
40
41
42
43
44
|
import inspectimport loggingimport osimport win32serviceutilfrom jupyterlab.labapp import JupyterApp, LabAppcurrent_file = os.path.abspath(inspect.getfile(inspect.currentframe()))os.chdir(os.path.dirname(current_file))class JupyterLabService(win32serviceutil.ServiceFramework): _svc_name_ = "JupyterLab" _svc_display_name_ = "Jupyter Lab Service" _svc_description_ = "Jupyter Lab Service" def __init__(self, args): super().__init__(args) self.app = LabApp() def _init_lab(self): JupyterApp.initialize(self.app) self.app.init_configurables() self.app.init_components() self.app.init_webapp() self.app.init_terminals() self.app.init_server_extensions() self.app.init_mime_overrides() self.app.init_shutdown_no_activity() def SvcDoRun(self): self.app.config_dir = "." self._init_lab() self.app.start() def SvcStop(self): self.app.stop() def SvcShutdown(self): self.SvcStop()if __name__ == '__main__': win32serviceutil.HandleCommandLine(JupyterLabService) |
服务安装
|
1
|
python .\jupyterlabservice.py install |
服务启动
|
1
|
python .\jupyterlabservice.py start |
访问localhost:8888网址,可以在浏览器中打开JupyterLab应用,但此时会遇到需要token认证的问题,如下图所示:

解决此问题方法是修改配置文件中的token参数。
首先是在配置目录中找到jupyter_notebook_config.py文件,如果没有的话可以通过以下命令创建。
jupyter lab --generate-config
然后找到c.NotebookApp.token一项,将其值设为空字符串。
## Token used for authenticating first-time connections to the server.
#
# The token can be read from the file referenced by JUPYTER_TOKEN_FILE or set
# directly with the JUPYTER_TOKEN environment variable.
#
# When no password is enabled, the default is to generate a new, random token.
#
# Setting to an empty string disables authentication altogether, which is NOT
# RECOMMENDED.
c.NotebookApp.token = ''
重启相应服务后,再次访问localhost:8888网址,这下就正常了。

如果不想使用默认的8888端口,也可以在c.NotebookApp.port选项中将其值改成特定的端口号。
## The port the notebook server will listen on (env: JUPYTER_PORT).
c.NotebookApp.port = 9999
再次重启服务,这次便可以通过localhost:9999来访问JuypterLab应用了。
作者:Ken.W
出处:http://www.cnblogs.com/kenwoo
以上就是如何以Winsows Service方式运行JupyterLab的详细内容,更多关于运行JupyterLab的资料请关注服务器之家其它相关文章!
原文链接:https://www.tuicool.com/articles/buuyAbn


