由于学校要求我们每天都要在官网打卡签到疫情信息,多多少少得花个1分钟操作,程序员的尊严告诉我们坚决不能手动打卡。正巧最近学了selenium,于是画了个5分钟写了个自动打卡签到地小程序。
测试环境:python3.7 , selenium,chrome浏览器
seleium和chromedriver的配置在这里就不讲了,这里放个连接
首先找到学校信息门户的登录页:
http://my.hhu.edu.cn/login.portal

|
1
2
3
4
5
6
|
#导入selenium中的webdriverfrom selenium import webdriverimport timeurl = 'http://my.hhu.edu.cn/login.portal' #信息门户的登陆页面driver = webdriver.Chrome() # 初始化一个Chrome的驱动driver.get(url) # 让自动化模块控制的Chrome浏览器跳转到信息门户登陆页面 |
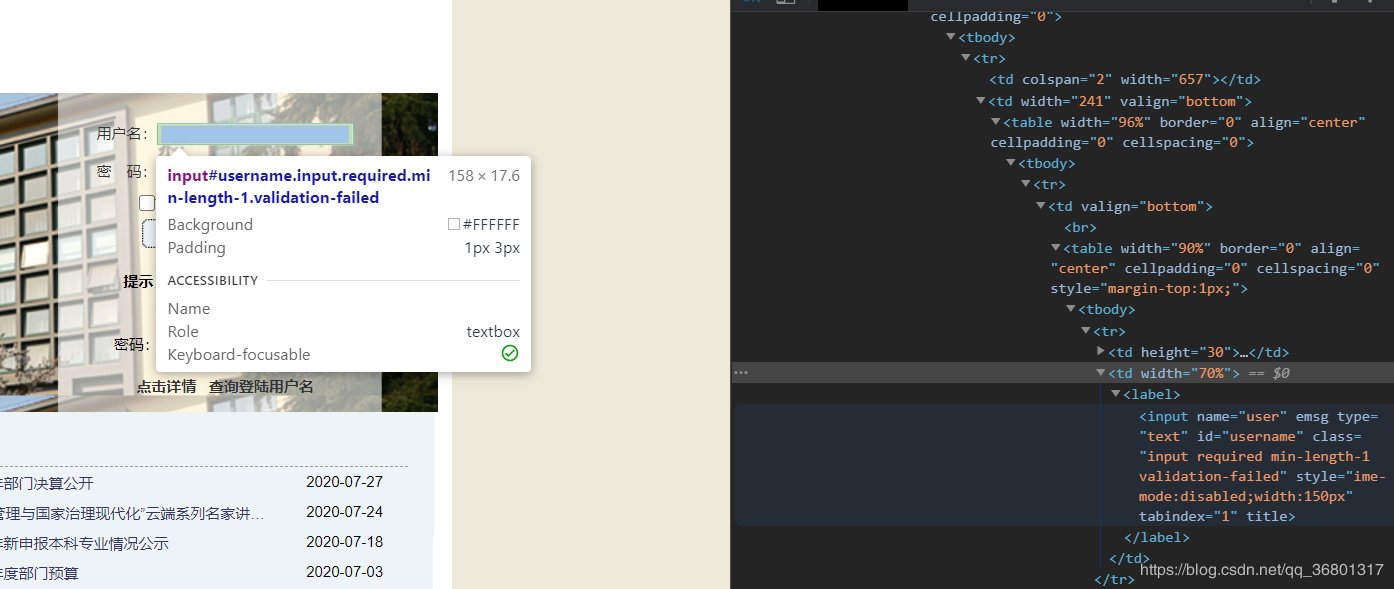
这时候就该模拟登录了,首先找到用户名的input框。按ctrl+shift+c,打开开发者工具,点击用户名右边的input框,即可在右边的开发者工具中找到input框对应的代码。


右击该模块,点击copy->copy Xpath 。(Xpath是用来定位该input控件位置的)
|
1
2
3
4
5
6
|
root = '' #赋值自己的用户名password = '' # 赋值自己的密码driver.find_element_by_xpath('//*[@id="username"]').send_keys(root) #将xpath赋值在前面的括号中,通过send_keys方法给input赋值#类似的,赋值密码框的xpath,赋值密码driver.find_element_by_xpath('//*[@id="password"]').send_keys(password) |
账号密码输完了,就该点击登陆了。按ctrl+shift+c,点击登录按钮,在右边的开发者工具对应的代码块右键copy->copy xpath,获得button的xpath。
|
1
2
|
driver.find_element_by_xpath('//*[@id="changeBack"]/tbody/tr/td[2]/table[1]/tbody/tr[2]/td/div/input[1]').click()#通过click方法点击登录框,跳转到登陆后的页面 |

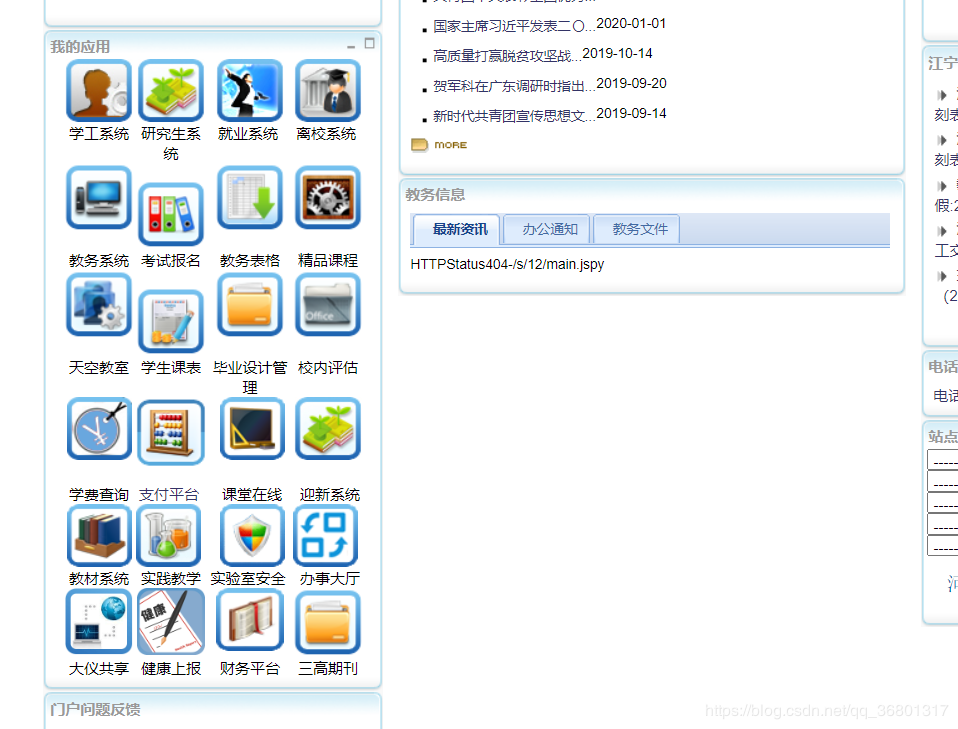
在登陆后的页面中,找到了健康上报的功能框。点击该功能框,发现页面跳转到了签到页面:

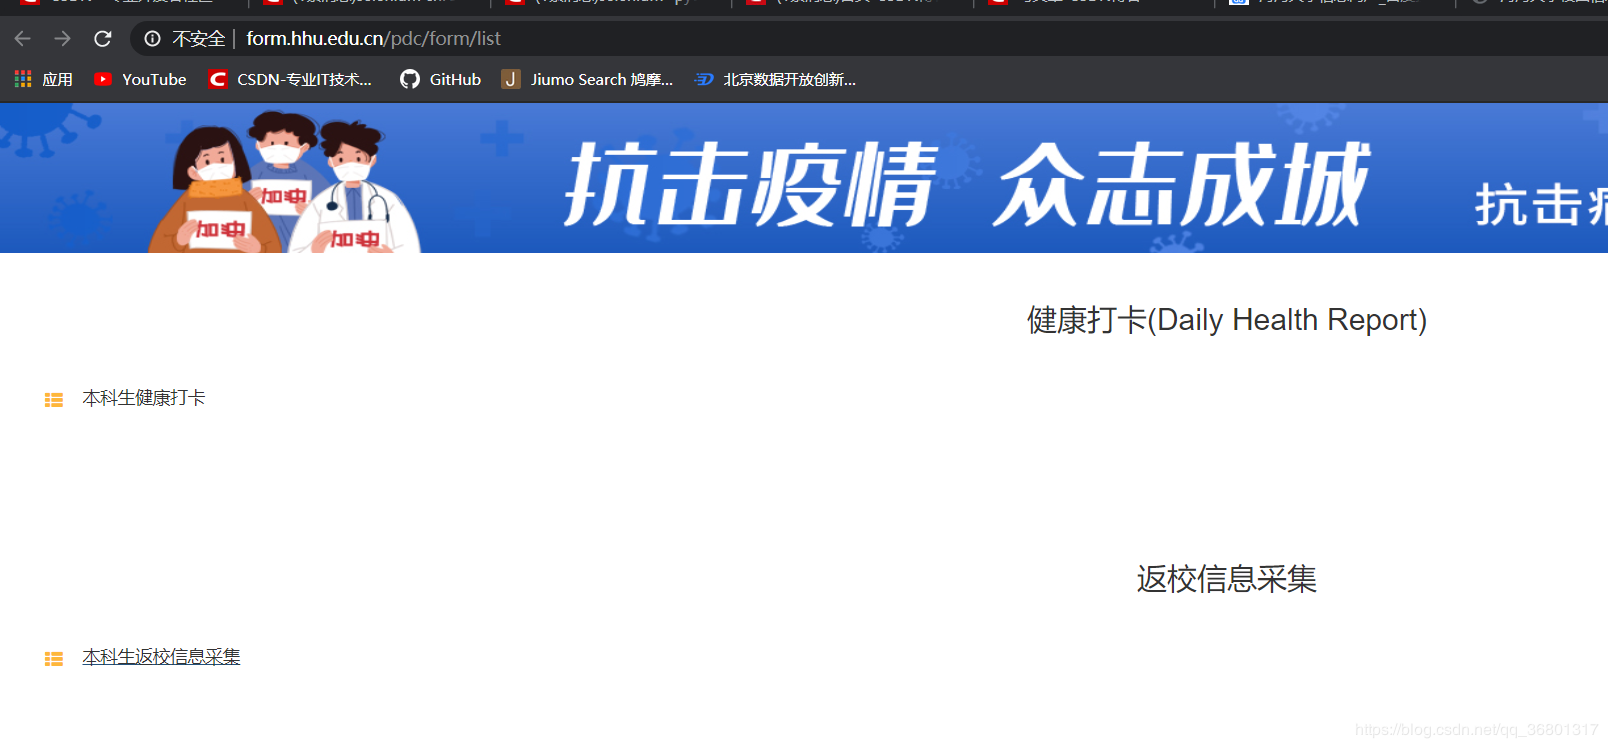
复制该页面的网址,让程序在登陆后跳转到该页面:
|
1
2
|
form = 'http://form.hhu.edu.cn/pdc/form/list'driver.get(form) |
让程序点击“本科生健康打卡:
|
1
|
driver.find_element_by_xpath('/html/body/div[1]/div[4]/div/section/section/div/a/div[2]').click() |
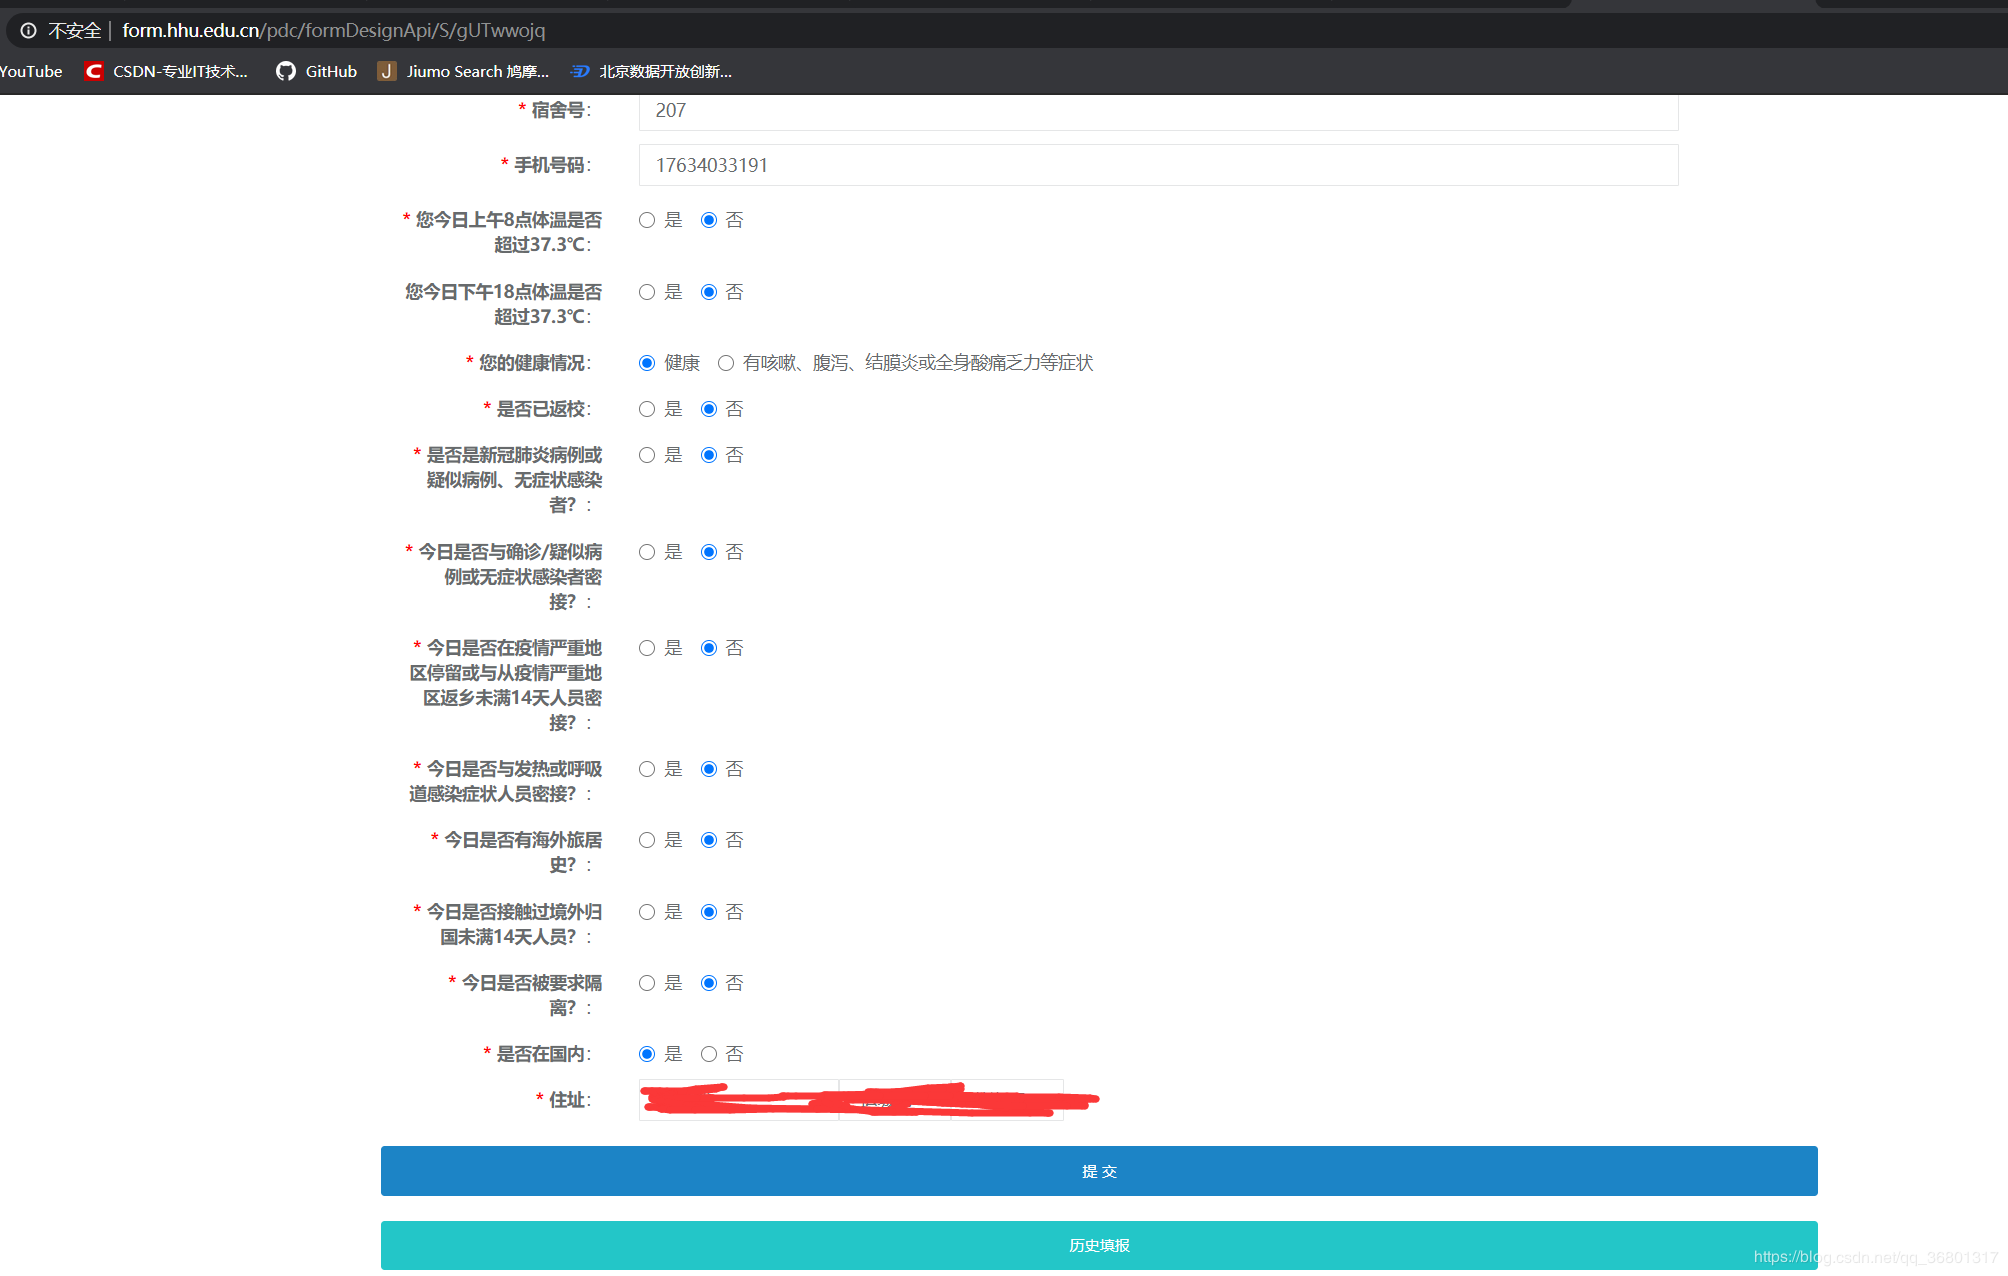
会跳转到以下的页面

点击提交,即完成签到
|
1
|
driver.find_element_by_xpath('//*[@id="saveBtn"]').click() |
完整的程序:
|
1
2
3
4
5
6
7
8
9
10
11
12
13
14
|
from selenium import webdriverimport timeroot = ''password = ''url = 'http://my.hhu.edu.cn/login.portal'driver = webdriver.Chrome()driver.get(url)driver.find_element_by_xpath('//*[@id="username"]').send_keys(root)driver.find_element_by_xpath('//*[@id="password"]').send_keys(password)driver.find_element_by_xpath('//*[@id="changeBack"]/tbody/tr/td[2]/table[1]/tbody/tr[2]/td/div/input[1]').click()form = 'http://form.hhu.edu.cn/pdc/form/list'driver.get(form)driver.find_element_by_xpath('/html/body/div[1]/div[4]/div/section/section/div/a/div[2]').click()driver.find_element_by_xpath('//*[@id="saveBtn"]').click() |
总结
到此这篇关于python+selenium 简易地疫情信息自动打卡签到功能的实现代码的文章就介绍到这了,更多相关python selenium自动打卡签到内容请搜索服务器之家以前的文章或继续浏览下面的相关文章希望大家以后多多支持服务器之家!
原文链接:https://blog.csdn.net/qq_36801317/article/details/107756129


