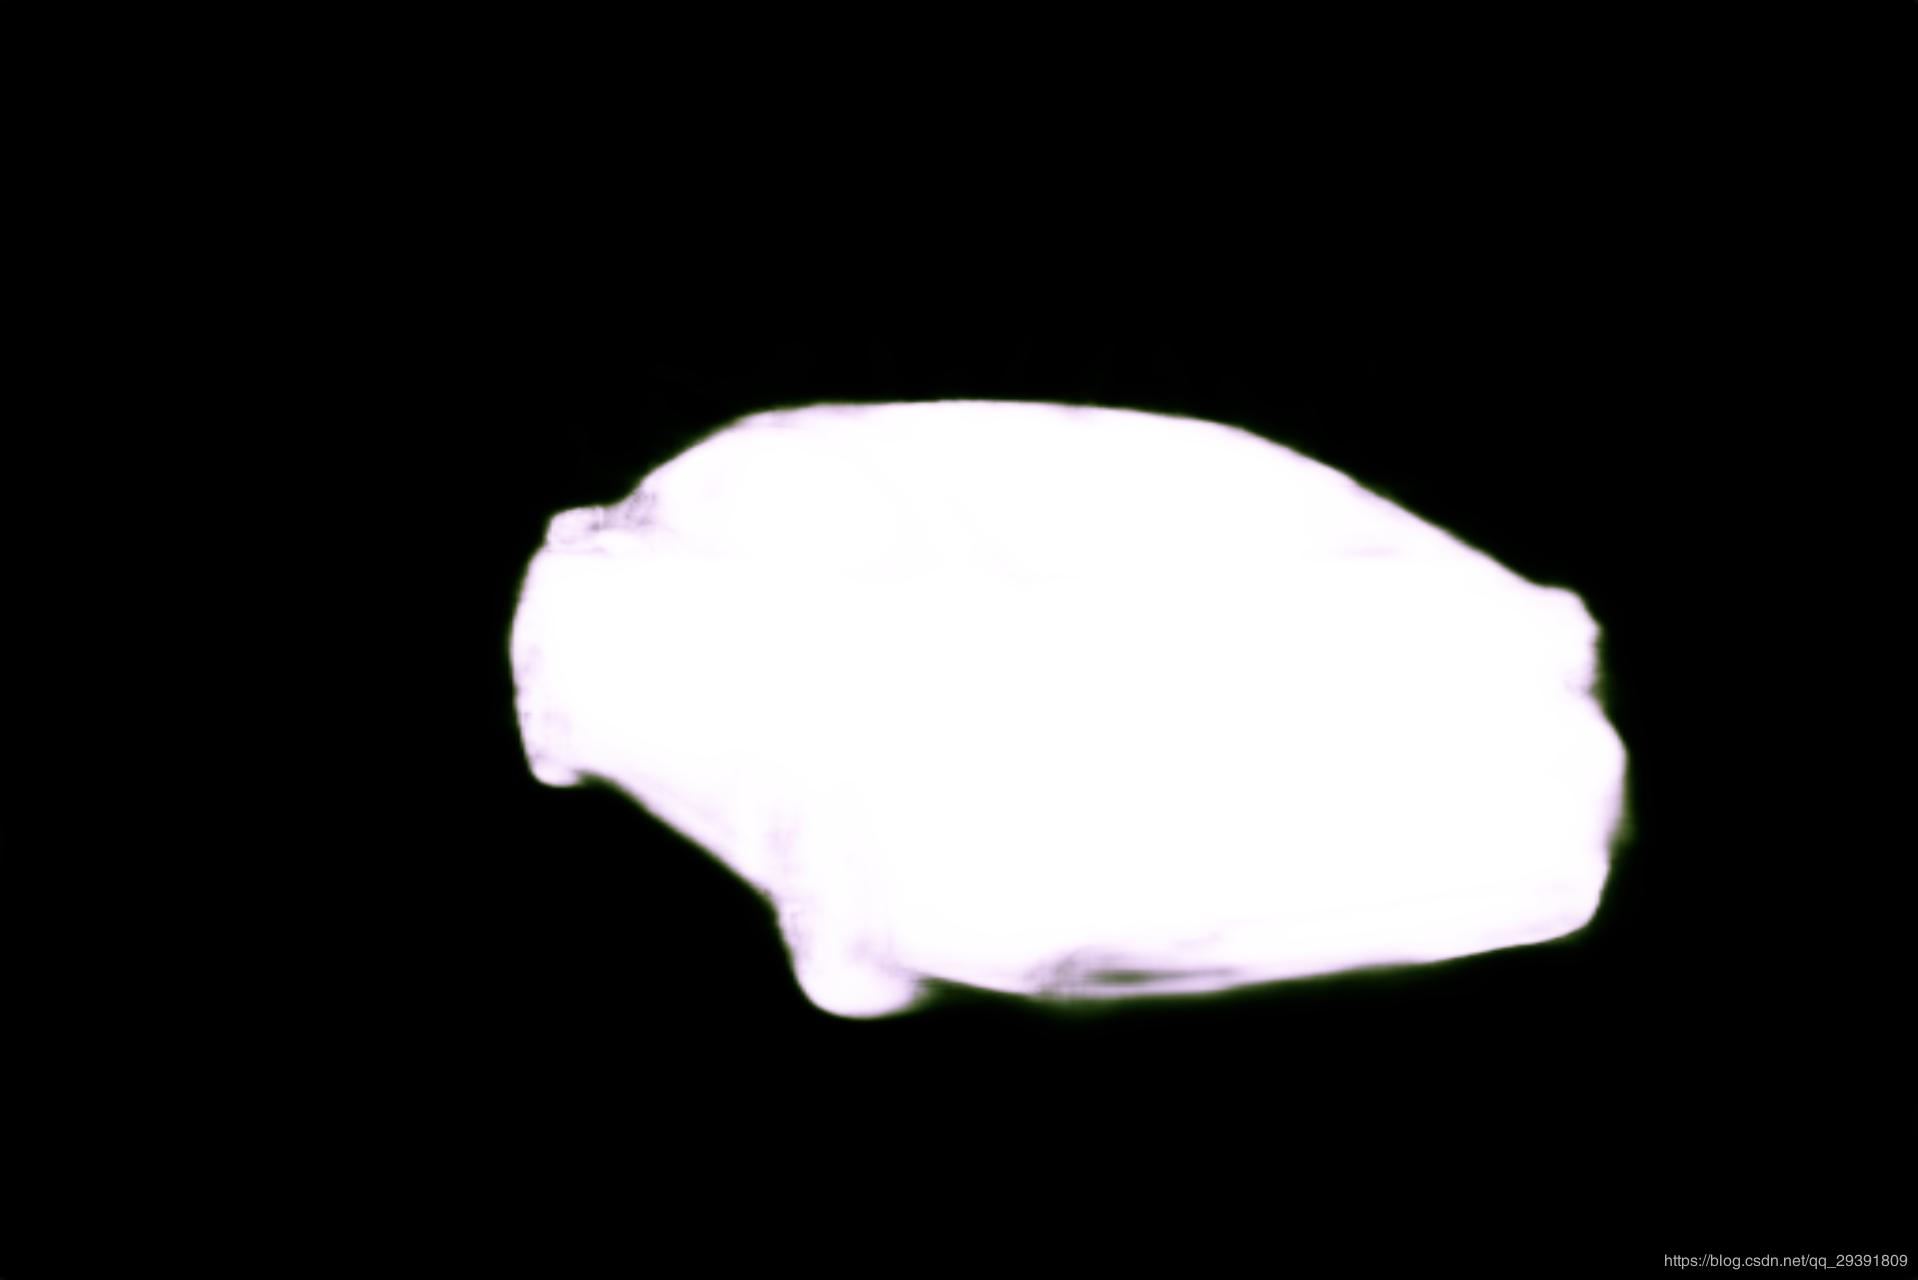
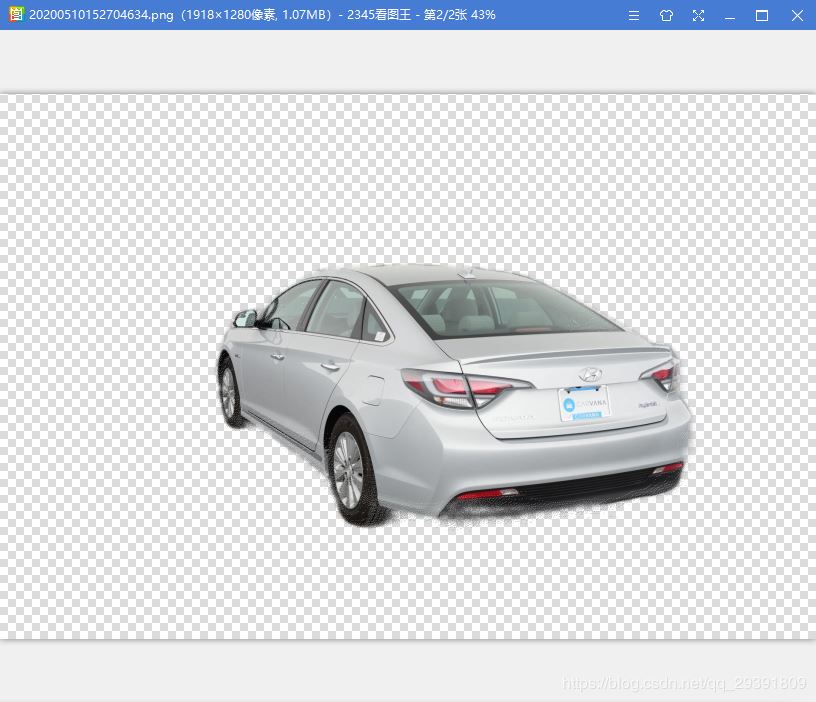
因为最近在做深度学习抠图,正好要用到蒙版进行抠图,所以我将抠图代码进行了封装注释,可以直接使用。可能走了弯路,若有高见请一定提出!
主要代码
|
1
2
3
4
5
6
7
8
9
10
11
12
13
14
15
16
17
18
19
20
21
22
23
24
25
26
27
28
29
30
31
32
33
34
35
36
37
38
39
40
41
42
43
44
45
46
47
48
49
50
51
52
53
54
55
56
57
58
59
60
61
62
63
64
65
66
67
68
69
70
71
|
import cv2from PIL import Imageimport numpy as npclass UnsupportedFormat(Exception): def __init__(self, input_type): self.t = input_type def __str__(self): return "不支持'{}'模式的转换,请使用为图片地址(path)、PIL.Image(pil)或OpenCV(cv2)模式".format(self.t)class MatteMatting(): def __init__(self, original_graph, mask_graph, input_type='path'): """ 将输入的图片经过蒙版转化为透明图构造函数 :param original_graph:输入的图片地址、PIL格式、CV2格式 :param mask_graph:蒙版的图片地址、PIL格式、CV2格式 :param input_type:输入的类型,有path:图片地址、pil:pil类型、cv2类型 """ if input_type == 'path': self.img1 = cv2.imread(original_graph) self.img2 = cv2.imread(mask_graph) elif input_type == 'pil': self.img1 = self.__image_to_opencv(original_graph) self.img2 = self.__image_to_opencv(mask_graph) elif input_type == 'cv2': self.img1 = original_graph self.img2 = mask_graph else: raise UnsupportedFormat(input_type) @staticmethod def __transparent_back(img): """ :param img: 传入图片地址 :return: 返回替换白色后的透明图 """ img = img.convert('RGBA') L, H = img.size color_0 = (255, 255, 255, 255) # 要替换的颜色 for h in range(H): for l in range(L): dot = (l, h) color_1 = img.getpixel(dot) if color_1 == color_0: color_1 = color_1[:-1] + (0,) img.putpixel(dot, color_1) return img def save_image(self, path, mask_flip=False): """ 用于保存透明图 :param path: 保存位置 :param mask_flip: 蒙版翻转,将蒙版的黑白颜色翻转;True翻转;False不使用翻转 """ if mask_flip: img2 = cv2.bitwise_not(self.img2) # 黑白翻转 image = cv2.add(self.img1, img2) image = Image.fromarray(cv2.cvtColor(image, cv2.COLOR_BGR2RGB)) # OpenCV转换成PIL.Image格式 img = self.__transparent_back(image) img.save(path) @staticmethod def __image_to_opencv(image): """ PIL.Image转换成OpenCV格式 """ img = cv2.cvtColor(np.asarray(image), cv2.COLOR_RGB2BGR) return img |
使用示例
|
1
2
|
mm = MatteMatting("input.jpg", "mask.jpg")mm.save_image("output.png", mask_flip=True) # mask_flip是指蒙版翻转,即把白色的变成黑色的,黑色的变成白色的 |
效果展示
input.jpg

mask.jpg

output.png

到此这篇关于python利用蒙版抠图(使用PIL.Image和cv2)输出透明背景图的文章就介绍到这了,更多相关python 输出透明背景图内容请搜索服务器之家以前的文章或继续浏览下面的相关文章希望大家以后多多支持服务器之家!
原文链接:https://blog.csdn.net/qq_29391809/article/details/106036745


