1. 安装ADB
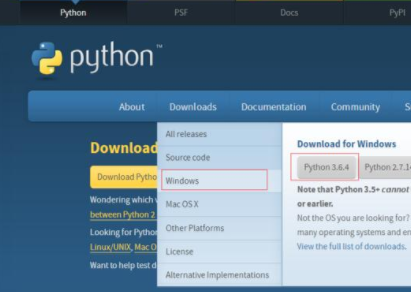
地址:https://developer.android.google.cn/studio/releases/platform-tools?hl=en
下载对应环境的工具 解压

之后设置环境变量
右键我的电脑->属性 然后按下图顺序 最后添加platform-tools的路径保存即可

设置好后cmd打开命令行
输入adb version
可以查看adb版本信息 ok~

2. 安装uiautomator2
python下载uiautomator2包
pip install --pre uiautomator2
使用数据线将手机与电脑相连 使用开发者模式
在电脑命令行输入
python -m uiautomator2 init
进行初始化
手机同一安装atx 和com.github.uiautomator.test
如果需要wifi连接 adb需要tcpip连接模式
所以在数据线连接时我们需要设定端口
adb tcpip 5566
3.测试连接
手机与电脑连接同一个局域网
手机连接wifi后 ip为 192.168.0.102
adb连接手机设备

python测试如下
import uiautomator2 as u2
#d = u2.connect()  # 有线连接,手机需要插电脑上
d = u2.connect("192.168.0.102:5566") #通过无线连接,电脑和手机需要在同一个局域网内,并且需要先用有线的方式做过初始化
print(d.info)
输出设备信息
{‘currentPackageName": ‘com.bbk.launcher2", ‘displayHeight": 2160, ‘displayRotation": 0, ‘displaySizeDpX": 360, ‘displaySizeDpY": 720, ‘displayWidth": 1080, ‘productName": ‘PD1709", ‘screenOn": True, ‘sdkInt": 27, ‘naturalOrientation": True}
连接成功
到此这篇关于python 使用uiautomator2连接手机设备的实现的文章就介绍到这了,更多相关python uiautomator2连接手机设备内容请搜索服务器之家以前的文章或继续浏览下面的相关文章希望大家以后多多支持服务器之家!
原文链接:https://blog.csdn.net/zkt286468541/article/details/113986436


")