前言
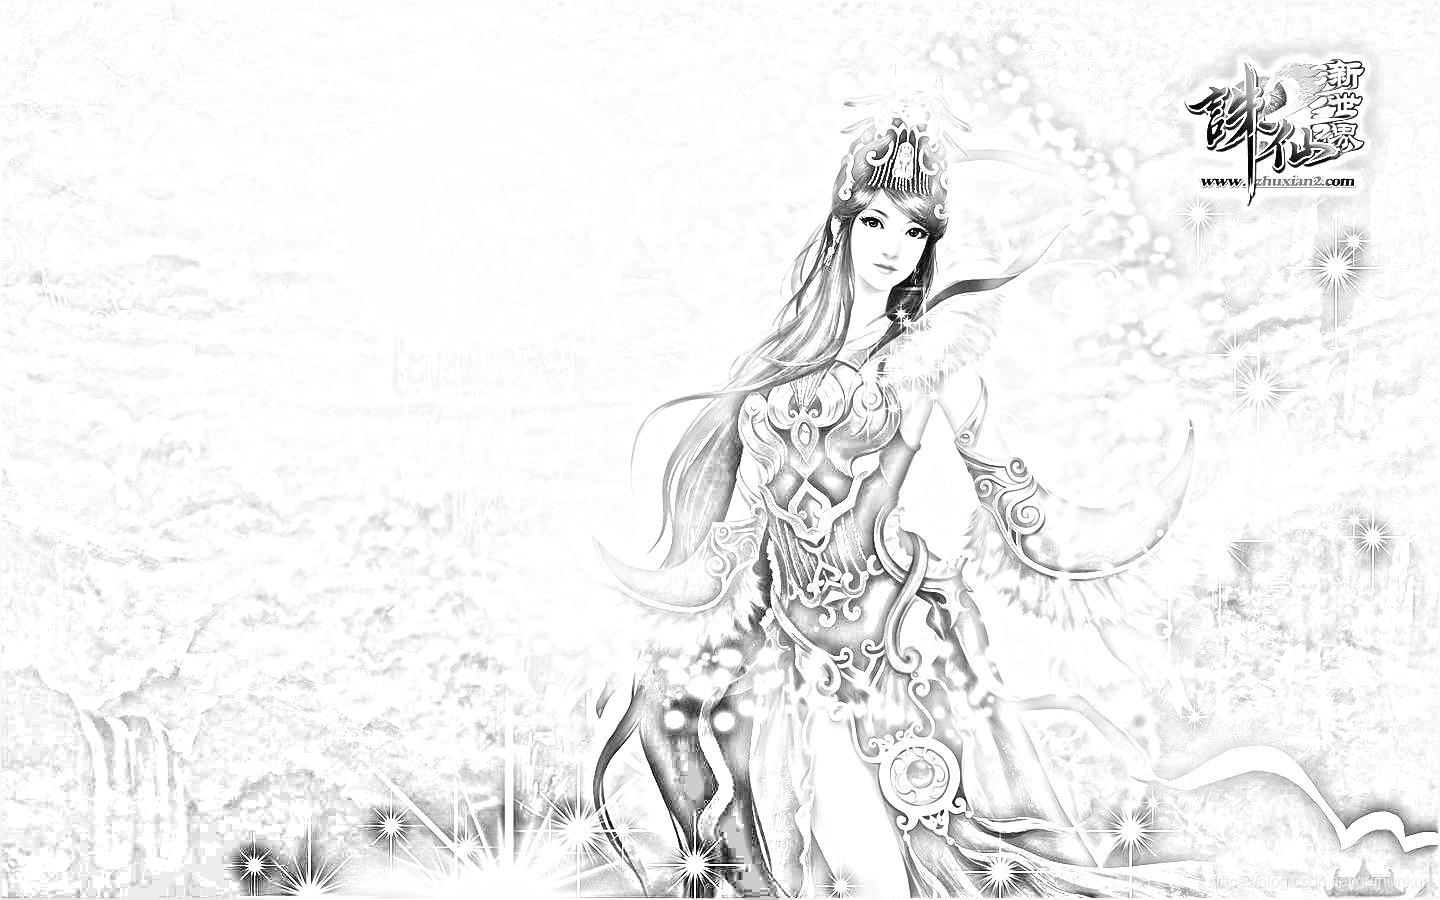
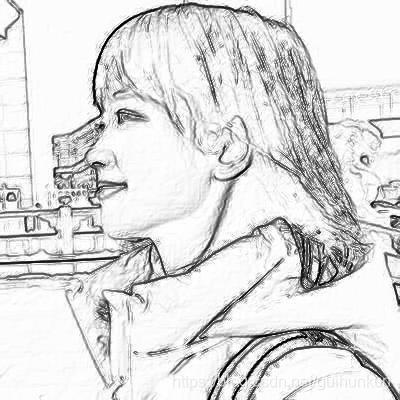
正常图片转化成素描图片无非对图片像素的处理,矩阵变化而已。目前很多拍照修图app都有这一功能,核心代码不超30行。如下利用 python 实现读取一张图片并将其转化成素描图片。至于批处理也简单,循环读取文件夹里的图片处理即可。具体代码可以去我的 github 下载。
程序
method 1
|
1
2
3
4
5
6
7
8
9
10
11
12
13
14
15
16
17
18
19
20
21
22
23
24
|
def plot_sketch(origin_picture, out_picture) : a = np.asarray(image.open(origin_picture).convert('l')).astype('float') depth = 10. # (0-100) grad = np.gradient(a) # 取图像灰度的梯度值 grad_x, grad_y = grad # 分别取横纵图像梯度值 grad_x = grad_x * depth / 100. grad_y = grad_y * depth / 100. a = np.sqrt(grad_x ** 2 + grad_y ** 2 + 1.0) uni_x = grad_x / a uni_y = grad_y / a uni_z = 1. / a vec_el = np.pi / 2.2 # 光源的俯视角度,弧度值 vec_az = np.pi / 4. # 光源的方位角度,弧度值 dx = np.cos(vec_el) * np.cos(vec_az) # 光源对x 轴的影响 dy = np.cos(vec_el) * np.sin(vec_az) # 光源对y 轴的影响 dz = np.sin(vec_el) # 光源对z 轴的影响 b = 255 * (dx * uni_x + dy * uni_y + dz * uni_z) # 光源归一化 b = b.clip(0, 255) im = image.fromarray(b.astype('uint8')) # 重构图像 im.save(out_picture) print("转换成功,请查看 : ", out_picture) |
method 2
|
1
2
3
4
5
6
7
8
9
10
11
12
13
14
15
|
def plot_sketch2(origin_picture, out_picture, alpha=1.0): img = image.open(origin_picture) blur = 20 img1 = img.convert('l') # 图片转换成灰色 img2 = img1.copy() img2 = imageops.invert(img2) for i in range(blur): # 模糊度 img2 = img2.filter(imagefilter.blur) width, height = img1.size for x in range(width): for y in range(height): a = img1.getpixel((x, y)) b = img2.getpixel((x, y)) img1.putpixel((x, y), min(int(a*255/(256-b*alpha)), 255)) img1.save(out_picture) |
完整代码
|
1
2
3
4
5
6
7
8
9
10
11
12
13
14
15
16
17
18
19
20
21
22
23
24
25
26
27
28
29
30
31
32
33
34
35
36
37
38
39
40
41
42
43
44
45
46
47
48
49
50
51
52
53
54
55
56
57
58
59
60
|
from pil import image, imagefilter, imageopsimport numpy as npimport osdef plot_sketch(origin_picture, out_picture) : a = np.asarray(image.open(origin_picture).convert('l')).astype('float') depth = 10. # (0-100) grad = np.gradient(a) # 取图像灰度的梯度值 grad_x, grad_y = grad # 分别取横纵图像梯度值 grad_x = grad_x * depth / 100. grad_y = grad_y * depth / 100. a = np.sqrt(grad_x ** 2 + grad_y ** 2 + 1.0) uni_x = grad_x / a uni_y = grad_y / a uni_z = 1. / a vec_el = np.pi / 2.2 # 光源的俯视角度,弧度值 vec_az = np.pi / 4. # 光源的方位角度,弧度值 dx = np.cos(vec_el) * np.cos(vec_az) # 光源对x 轴的影响 dy = np.cos(vec_el) * np.sin(vec_az) # 光源对y 轴的影响 dz = np.sin(vec_el) # 光源对z 轴的影响 b = 255 * (dx * uni_x + dy * uni_y + dz * uni_z) # 光源归一化 b = b.clip(0, 255) im = image.fromarray(b.astype('uint8')) # 重构图像 im.save(out_picture) print("转换成功,请查看 : ", out_picture)def plot_sketch2(origin_picture, out_picture, alpha=1.0): img = image.open(origin_picture) blur = 20 img1 = img.convert('l') # 图片转换成灰色 img2 = img1.copy() img2 = imageops.invert(img2) for i in range(blur): # 模糊度 img2 = img2.filter(imagefilter.blur) width, height = img1.size for x in range(width): for y in range(height): a = img1.getpixel((x, y)) b = img2.getpixel((x, y)) img1.putpixel((x, y), min(int(a*255/(256-b*alpha)), 255)) img1.save(out_picture)if __name__ == '__main__': origin_picture = "pictures/5.jpg" out_picture = "sketchs/sketch.jpg" plot_sketch(origin_picture, out_picture) origin_path = "./pictures" out_path = "./sketchs" dirs = os.listdir(origin_path) for file in dirs: origin_picture = origin_path + "/" + file out_picture = out_path + "/" + "sketch_of_" + file plot_sketch2(origin_picture, out_picture) |
结果


总结
到此这篇关于利用python将图片批量转化成素描图的文章就介绍到这了,更多相关python图片批量转素描图内容请搜索服务器之家以前的文章或继续浏览下面的相关文章希望大家以后多多支持服务器之家!
原文链接:https://blog.csdn.net/guihunkun/article/details/119533748


