本文实例为大家分享了jQuery实现回到顶部效果的具体代码,供大家参考,具体内容如下
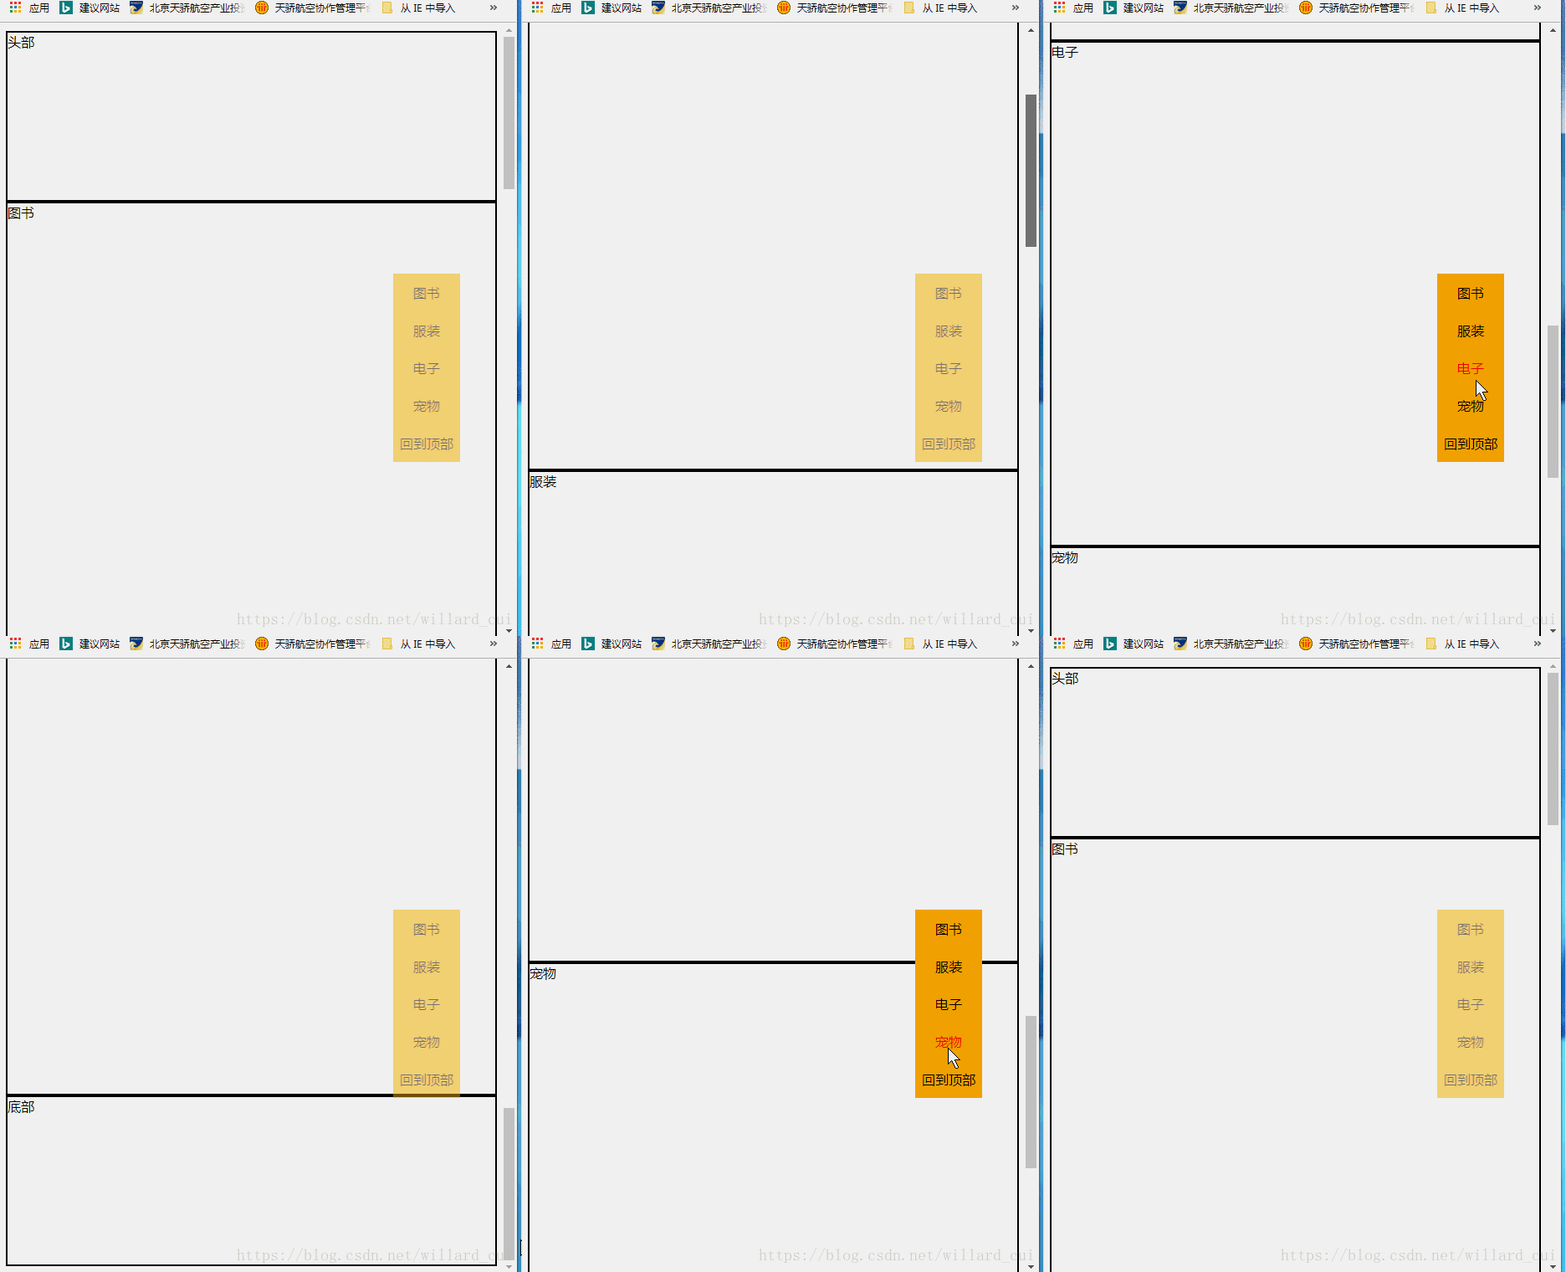
动画:通过点击侧栏导航,页面到达相应的位置
jQuery方法:show(), hide(), animate()
动画效果:

代码:
|
1
2
3
4
5
6
7
8
9
10
11
12
13
14
15
16
17
18
19
20
21
22
23
24
25
26
27
28
29
30
31
32
33
34
35
36
37
38
39
40
41
42
43
44
45
46
47
48
49
50
51
52
53
54
55
56
57
58
59
60
61
62
63
64
65
66
67
68
69
70
71
72
73
74
75
76
77
78
79
80
81
82
83
84
85
86
87
88
89
90
91
92
93
94
95
96
97
98
99
100
101
102
103
104
105
106
107
108
109
110
111
112
113
114
115
116
117
118
119
120
121
122
123
124
|
<!DOCTYPE html><head> <meta charset="UTF-8"> <title>回到顶部</title> <script src="D:\jQuery/jquery-3.3.1.js"></script> <style> body, div, ul, li{ margin: 0; padding: 0; list-style: none; } #container{ margin: 10px; } #header{ width: 100%; height:200px; border: 2px solid #000; } #contant ul li{ width: 100%; height:600px; border: 2px solid #000; } #footer{ width: 100%; height:200px; border: 2px solid #000; } #scroll{ position: fixed; right: 50px; top: 300px; width: 80px; background: orange; opacity: 0.5 } #scroll ul{ list-style:none; } #scroll ul li{ width: 100%; height: 45px; line-height:45px; text-align: center; } </style></head><body><div id="container"><div id="header">头部</div><div id="contant"> <ul> <li>图书</li> <li>服装</li> <li>电子</li> <li>宠物</li> </ul></div><div id="footer">底部</div><div id="scroll"> <ul> <li>图书</li> <li>服装</li> <li>电子</li> <li>宠物</li> <li>回到顶部</li> </ul></div></div><script type="text/javascript"> $(document).ready(function () { //当鼠标进入侧边导航栏时改变侧栏样式 $("#scroll").mouseenter(function(){ $(this).css( "opacity",1 ); }); $("#scroll").mouseleave(function(){ $(this).css("opacity",0.5); }) $("#scroll ul li").mouseover(function(){ $(this).css( { "color":"red", "cursor":"pointer" }); }); $("#scroll ul li").mouseout(function(){ $(this).css("color","black"); }) //点击侧栏导航,页面到达相应位置 $("#scroll ul li").click(function () { switch($(this).index()){ case 4: // $(window).scrollTop(0); $(document.body).animate({"scrollTop":0},1000); $(document.documentElement).animate({"scrollTop":0},1000); break; case 0: $(document.body).animate({"scrollTop":200},1000); $(document.documentElement).animate({"scrollTop":200},1000); break; case 1: $(document.body).animate({"scrollTop":800},1000); $(document.documentElement).animate({"scrollTop":800},1000); break; case 2: $(document.body).animate({"scrollTop":1400},1000); $(document.documentElement).animate({"scrollTop":1400},1000); break; case 3: $(document.body).animate({"scrollTop":2000},1000); $(document.documentElement).animate({"scrollTop":2000},1000); break; default: break; } }); });</script></body><html> |
以上就是本文的全部内容,希望对大家的学习有所帮助,也希望大家多多支持服务器之家。
原文链接:https://blog.csdn.net/willard_cui/article/details/81462957


