1. 什么是支付宝接口(沙箱环境)?
记录时间:2020年10月15日3:55
现如今,手机支付已相当普遍,而作为开发人员应该对手机支付操作有所了解。而支付宝接口是支付宝提供的一个接口,用来对接软件应用程序在进行金钱交易使用。然后对于编程爱好者而言,想学习这一点就有点难,因为要想使用支付宝接口,必须前提是使用软件应用程序,软件应用程序需要向支付宝申请,提交一系列资料,这一点是实现不了的。这就对开发者增加了一定的难度,因为产品没有上线,然后需要对接支付宝接口就是很大的问题,所以出现了沙箱环境,具有虚拟的用户和管理员账户,进行实验测试是否对接成功。接下来就根据我的经验,简单的介绍一下我的使用和学习过程。
使用技术+编程软件:
springboot(idea)vue + elementui(HBuilderX)+ vue-qr(vue生成二维码框架)NATAPP(连接外网,实现支付宝回调)websocket(实现前端响应)
步骤:
准备沙箱环境JAVA + springboot 中使用 SDK 连接支付宝接口配置前端使用vue+elementui页面设计需要注意点结果测试
首先创建应用,这里是沙箱环境,先准备沙箱环境:
百度搜索**支付宝蚂蚁金服**,登录支付包账号,出现如下显示:
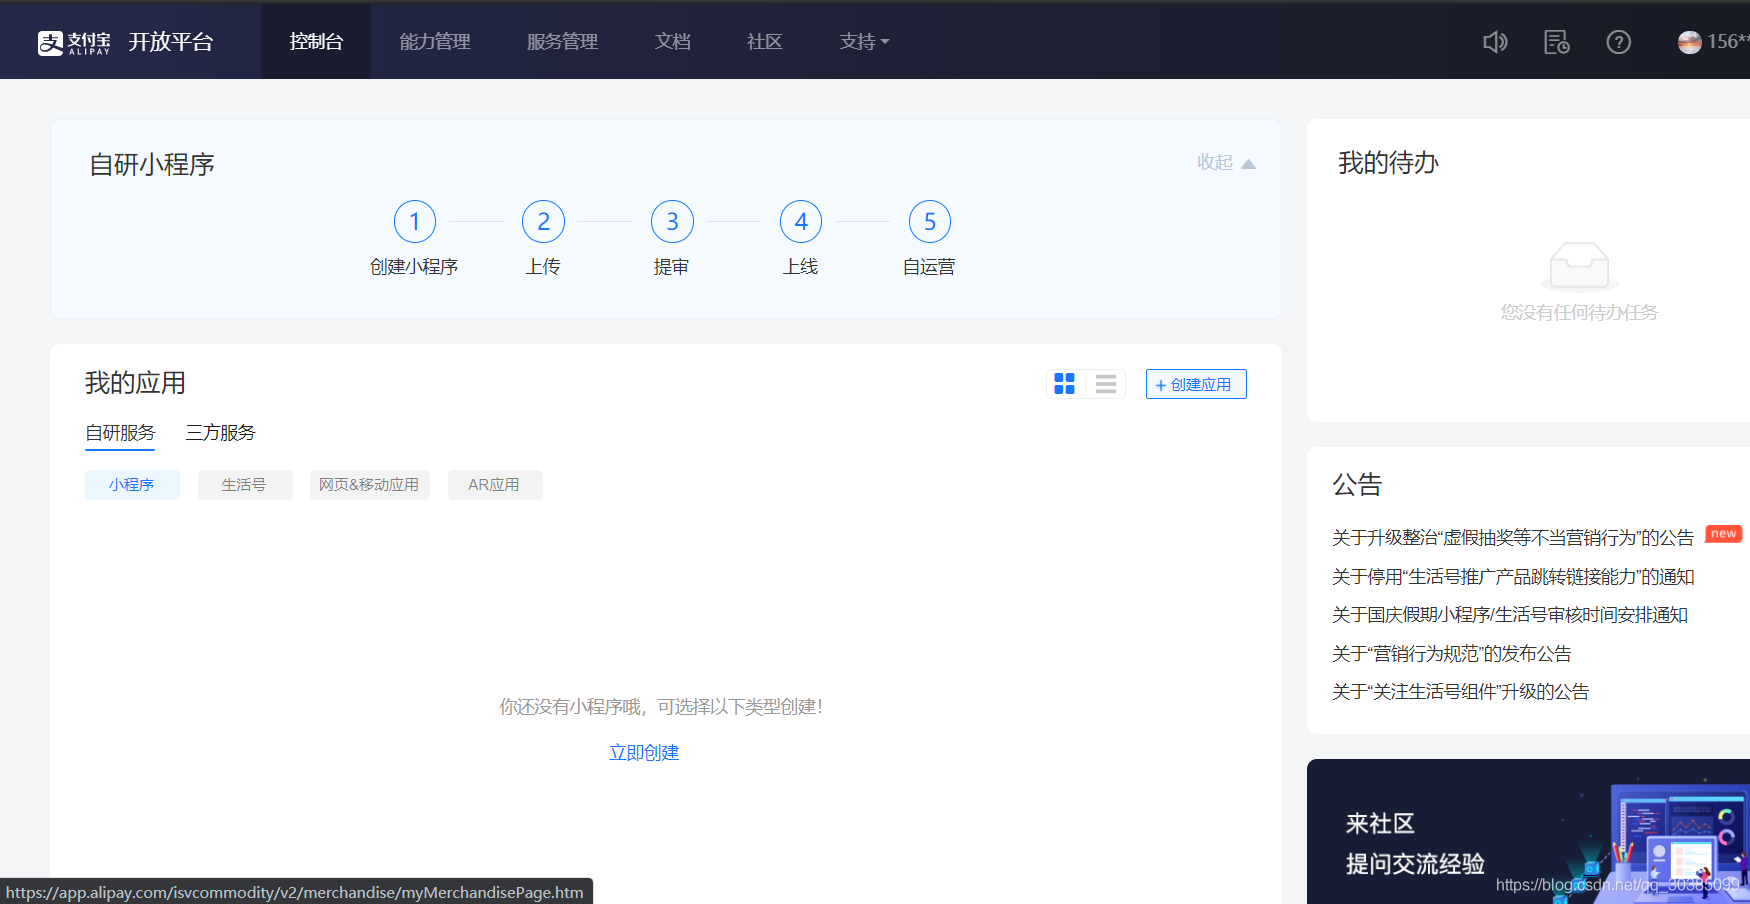
这里是创建应用的地方,也就是说有项目要上线时,在这里申请。使用沙箱环境的话,点击左上角开放平台,然后往下拉,会出现沙箱二字,点击进入即可:
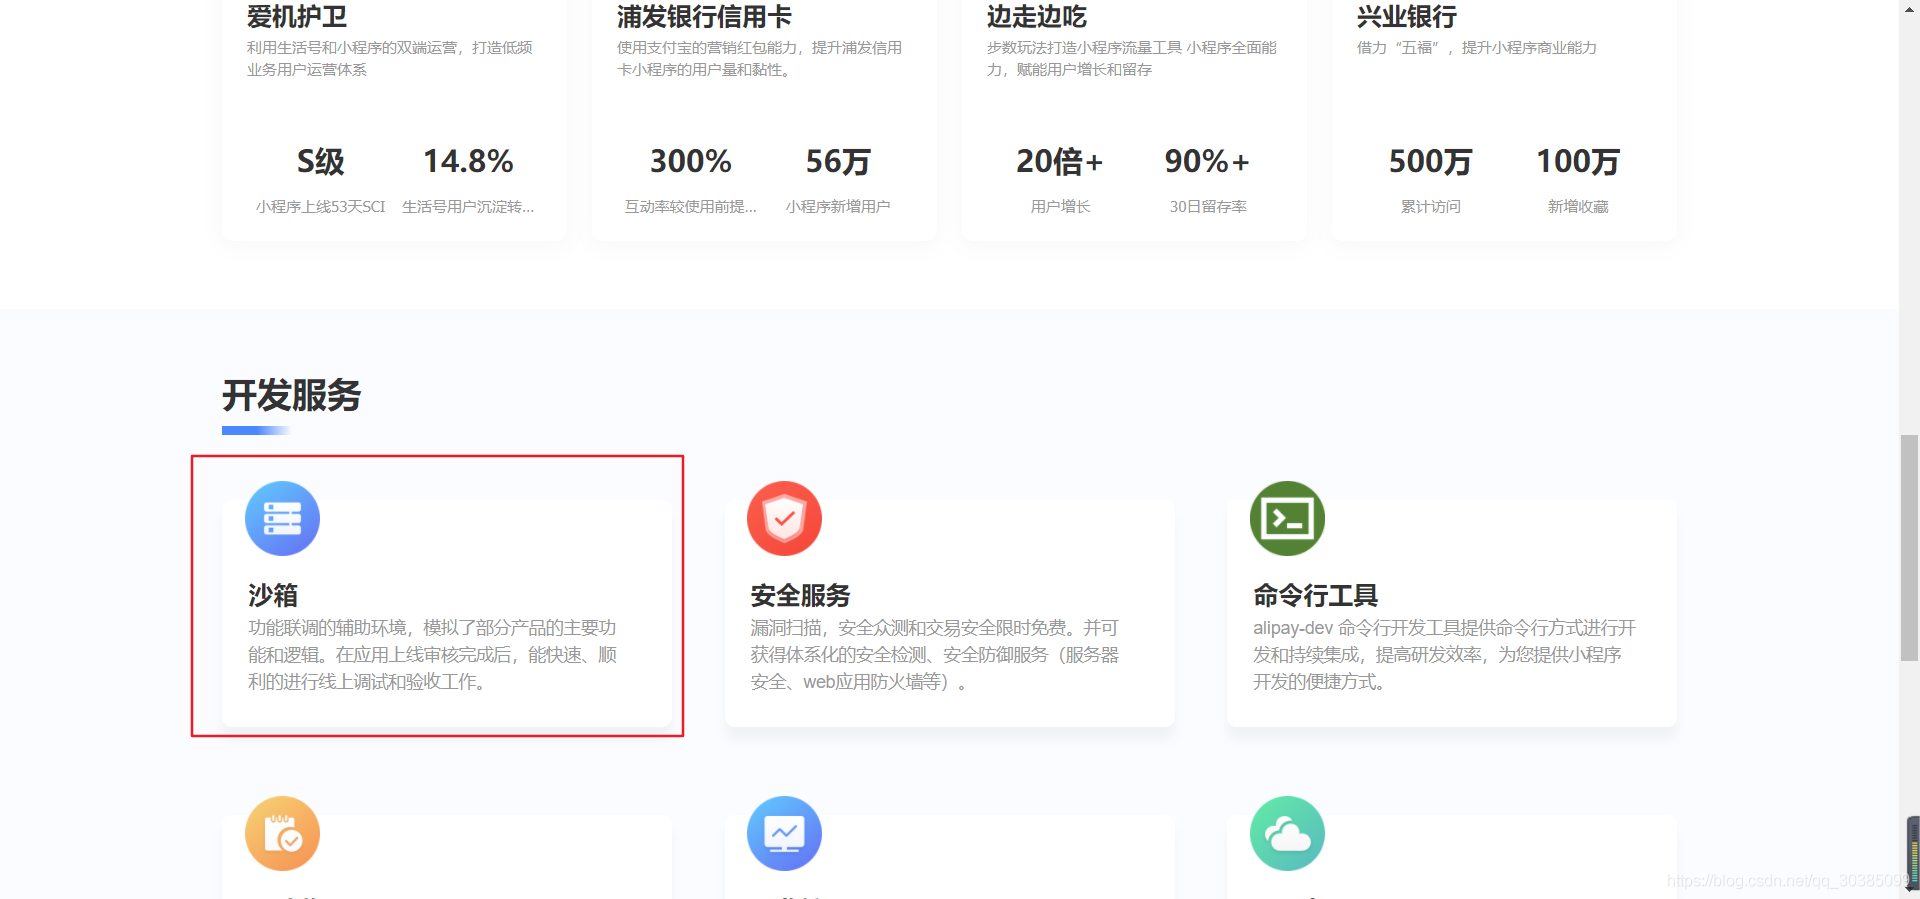
然后就可以看到支付宝官网介绍的沙箱环境的使用,其实官网已经介绍的非常详细了,如有小伙伴们看着嫌麻烦,可以根据我学习的步骤作为参考。在如何使用沙箱环境下点击沙箱应用链接,去配置自己的沙箱环境。

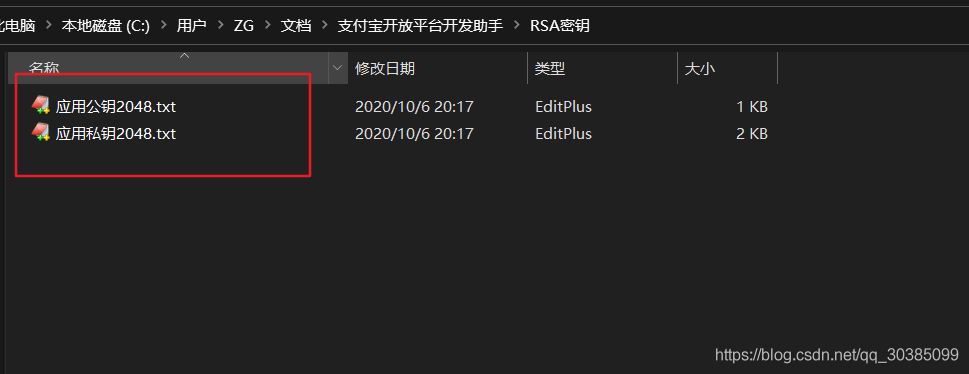
点击 i 符号,上面有提示链接,如何生成RSA2密钥,这里就不详细介绍了,官网写的非常明白,我这么笨的人也可以学会,相信小伙伴们也可以学会的。按照步骤会生成两个文件:应用公钥和应用私钥。记住,是应用公钥,而不是支付宝公钥。这里学习过程中没有使用证书模式。
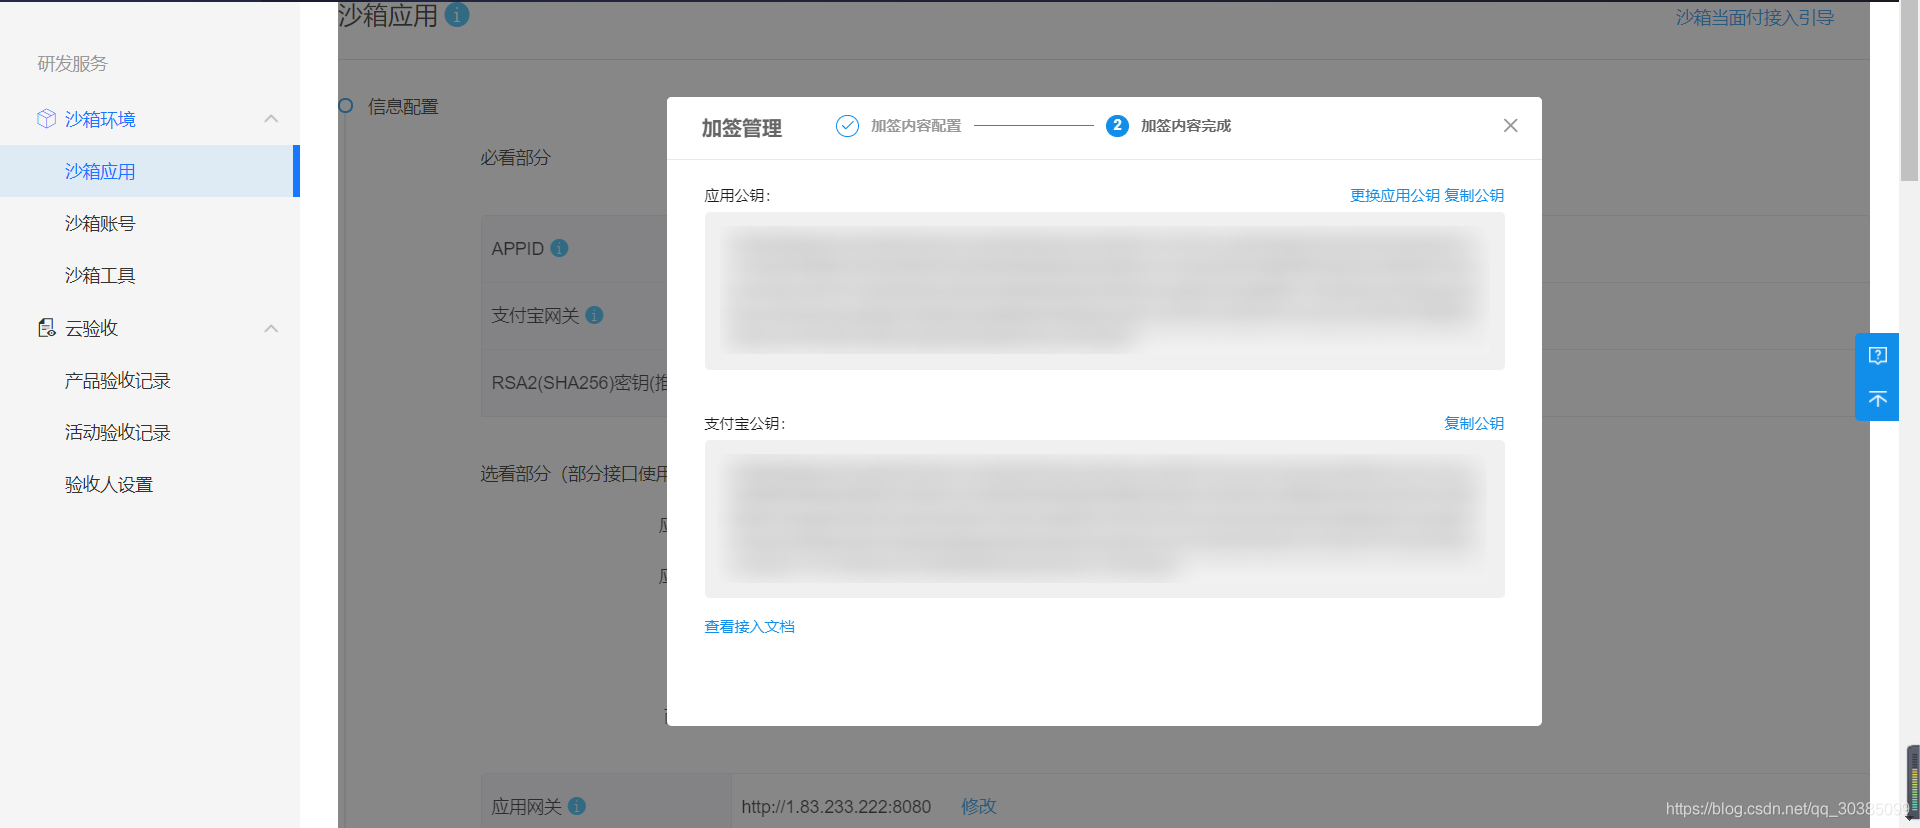
然后点击RSA2的设置/查看。将产生的应用公钥复制进去就可以了,而下面会生成支付宝公钥,在后续连接过程中非常重要,需要区分使用的是支付宝公钥还是应用公钥。
JAVA + springboot 中使用 SDK 连接支付宝接口配置

这里是官网使用SDK的方法,这里使用旧版的方式,新版的方式我使用过程中出现某些问题不会解决。
使用之前,先封装几个配置,第一个是连接支付宝的配置:
import com.alipay.api.AlipayApiException;
import com.alipay.api.AlipayClient;
import com.alipay.api.DefaultAlipayClient;
import com.alipay.api.internal.util.AlipaySignature;
import org.springframework.context.annotation.Bean;
import org.springframework.context.annotation.Configuration;

import javax.servlet.http.HttpServletRequest;
import java.util.HashMap;
import java.util.Map;

/**
 * 支付宝接口配置类
 */
@Configuration
public class PayConfig {
 // 请填写您的AppId,例如:2019091767145019(必填)
 private static final String appID = "2016102500758313";
 //应用私钥,这里修改生成的私钥即可(必填)
 private static final String privateKey = "";
 //支付宝公钥,而非应用公钥(必填)
 public static final String publicKey = "";
	//默认即可(必填)
 public static final String charset = "utf-8";
	//默认即可(必填)
 public static final String signType = "RSA2";
 @Bean
 public AlipayClient alipayClient(){
 	//沙箱环境使用https://openapi.alipaydev.com/gateway.do,线上环境使用https://openapi.alipay.com/gateway.do
  return new DefaultAlipayClient("https://openapi.alipaydev.com/gateway.do", appID, privateKey, "json", charset, publicKey, signType);
 }
	/**
	 * 验签,是否正确
	 */
 public static boolean checkSign(HttpServletRequest request){
  Map<String, String[]> requestMap = request.getParameterMap();
  Map<String, String> paramsMap = new HashMap<>();
  requestMap.forEach((key, values) -> {
   String strs = "";
   for(String value : values) {
    strs = strs + value;
   }
   System.out.println(key +"===>"+strs);
   paramsMap.put(key, strs);
  });
  System.out.println();
  //调用SDK验证签名
  try {
   return AlipaySignature.rsaCheckV1(paramsMap, PayConfig.publicKey, PayConfig.charset, PayConfig.signType);
  } catch (AlipayApiException e) {
   // TODO Auto-generated catch block
   e.printStackTrace();
   System.out.println("*********************验签失败********************");
   return false;
  }

 }
}
然后封装一个支付宝回调的参数对象,这里就不需要自己手动去获取参数了
import java.io.Serializable;

/**
 * 支付宝回调参数
 */
public class AliReturnPayBean implements Serializable {
 /**
  *
  */
 private static final long serialVersionUID = 1L;

 /**
  * 开发者的app_id
  */
 private String app_id;

 /**
  * 商户订单号
  */
 private String out_trade_no;

 /**
  * 签名
  */
 private String sign;

 /**
  * 交易状态
  */
 private String trade_status;

 /**
  * 支付宝交易号
  */
 private String trade_no;

 /**
  * 交易的金额
  */
 private String total_amount;

 public String getTotal_amount() {
  return total_amount;
 }

 public void setTotal_amount(String total_amount) {
  this.total_amount = total_amount;
 }

 public String getApp_id() {
  return app_id;
 }

 public void setApp_id(String app_id) {
  this.app_id = app_id;
 }

 public String getOut_trade_no() {
  return out_trade_no;
 }

 public void setOut_trade_no(String out_trade_no) {
  this.out_trade_no = out_trade_no;
 }

 public String getSign() {
  return sign;
 }

 public void setSign(String sign) {
  this.sign = sign;
 }

 public String getTrade_status() {
  return trade_status;
 }

 public void setTrade_status(String trade_status) {
  this.trade_status = trade_status;
 }

 public String getTrade_no() {
  return trade_no;
 }

 public void setTrade_no(String trade_no) {
  this.trade_no = trade_no;
 }

 @Override
 public String toString() {
  return "AliReturnPayBean [app_id=" + app_id + ", out_trade_no=" + out_trade_no + ", sign=" + sign
    + ", trade_status=" + trade_status + ", trade_no=" + trade_no + "]";
 }
}
然后写一个控制层去连接支付宝,控制层必须是@Controller修饰,而不是@RestController修饰,因为支付宝的回调函数里面返回的是请求。具体事例如下:
前提:在pom.xml 中导入SDK依赖:
<dependency>
 <groupId>com.alipay.sdk</groupId>
 <artifactId>alipay-sdk-java</artifactId>
 <version>4.10.145.ALL</version>
</dependency>
package com.example.zhifubaozhifu.controller;


import com.alibaba.fastjson.JSON;
import com.alipay.api.AlipayApiException;
import com.alipay.api.AlipayClient;
import com.alipay.api.request.AlipayTradePrecreateRequest;
import com.alipay.api.response.AlipayTradePrecreateResponse;
import com.example.zhifubaozhifu.config.PayConfig;
import com.example.zhifubaozhifu.util.AliReturnPayBean;
import com.example.zhifubaozhifu.util.Shop;
import com.example.zhifubaozhifu.util.WebSocket;
import lombok.extern.slf4j.Slf4j;
import org.springframework.beans.factory.annotation.Autowired;
import org.springframework.stereotype.Controller;
import org.springframework.web.bind.annotation.RequestMapping;
import org.springframework.web.bind.annotation.ResponseBody;

import javax.servlet.http.HttpServletRequest;
import javax.servlet.http.HttpServletResponse;
import java.io.IOException;
import java.math.BigDecimal;

@Controller
@Slf4j
public class Test {
 @Autowired
 private AlipayClient alipayClient;
 @Autowired
 private WebSocket webSocket;


 @RequestMapping("/createQR")
 @ResponseBody
 public String send() throws AlipayApiException {
  AlipayTradePrecreateRequest request = new AlipayTradePrecreateRequest(); //创建API对应的request类
  // 在下面会介绍notifyUrl怎么来的
  request.setNotifyUrl("http://cv95x3.natappfree.cc/call");
  //同步回调地址
//  request.setReturnUrl("");
  request.setBizContent(" {" +
				" "primary_industry_name":"IT科技/IT软件与服务"," +
				" "primary_industry_code":"10001/20102"," +
				" "secondary_industry_code":"10001/20102"," +
				" "secondary_industry_name":"IT科技/IT软件与服务"" +
				" }");;
  AlipayTradePrecreateResponse response = alipayClient.execute(request);
  String path = "zhifu.jpg";
  if (response.isSuccess()) {
   System.out.println("调用成功");
   return response.getQrCode();
  } else {
   System.out.println("调用失败");
  }
  return "";
 }


 /**
  * 支付宝回调函数
  * @param request
  * @param response
  * @param returnPay
  * @throws IOException
  */
 @RequestMapping("/call")
 public void call(HttpServletRequest request, HttpServletResponse response, AliReturnPayBean returnPay) throws IOException {
  response.setContentType("type=text/html;charset=UTF-8");
  log.info("支付宝的的回调函数被调用");
  if (!PayConfig.checkSign(request)) {
   log.info("验签失败");
   response.getWriter().write("failture");
   return;
  }
  if (returnPay == null) {
   log.info("支付宝的returnPay返回为空");
   response.getWriter().write("success");
   return;
  }
  log.info("支付宝的returnPay" + returnPay.toString());
  //表示支付成功状态下的操作
  if (returnPay.getTrade_status().equals("TRADE_SUCCESS")) {
   log.info("支付宝的支付状态为TRADE_SUCCESS");
   //业务逻辑处理 ,webSocket在下面会有介绍配置
   webSocket.sendMessage("true");
  }
  response.getWriter().write("success");
 }
}
前端使用vue+elementui页面设计:
vue项目的搭建这里就不介绍,首先准备环境,添加 vue-qr 插件:
npm install vue-qr --save
前端代码:
<template>
	<div>
		<!-- 支付按钮,模拟支付操作 -->
		<van-button type="primary" @click="pay">支付</van-button>

		<el-dialog :title="paySucc?"支付成功":"扫码支付"" :visible.sync="dialogVisible" width="16%" center>
			<!-- 生成二维码图片 -->
			<vueQr :text="text" :size="200" v-if="!paySucc"></vueQr>
			<!-- 使用websocket监控是否扫描,扫描成功显示成功并退出界面 -->
			<span class="iconfont icon-success" style="position: relative;font-size: 100px;color:#42B983;margin-left: 50px;top:-10px;" v-else></span>
		</el-dialog>

	</div>
</template>

<script>
	import vueQr from "vue-qr"
	export default {
		data() {
			return {
				dialogVisible: false,
				text: "",
				paySucc: false
			}
		},
		components: {
			vueQr
		},
		methods: {
			pay() {
				let _this = this;
				_this.paySucc = false;
				_this.dialogVisible = true;
				this.axios.request("http://localhost:8081/createQR")
					.then((response) => {
						_this.text = response.data;
						_this.dialogVisible = true;
						//使用webSocket发送请求,下面会简单介绍websocket使用
						if ("WebSocket" in window) {
							// 打开一个 web socket
							var ws = new WebSocket("ws://localhost:8081/bindingRecord");

							ws.onopen = function() {
								// Web Socket 已连接上,使用 send() 方法发送数据
								// ws.send("data");
								// alert("数据发送中...");
							};

							ws.onmessage = function(evt) {
								var received_msg = evt.data;
								// alert("数据已接收..." + evt.data);
								if (Boolean(evt.data)) {
									_this.paySucc = true;
									setTimeout(() => {
										_this.dialogVisible = false;
									}, 3 * 1000);
								}
								ws.close();

							};

							ws.onclose = function() {
								// // 关闭 websocket
								console.log("连接已关闭...");
							};
						} else {
							// 浏览器不支持 WebSocket
							alert("您的浏览器不支持 WebSocket!");
						}
					}).catch((err) => {
						console.log(err)
					})
			},
			back(dataUrl, id) {
				console.log(dataUrl, id)
			}
		}
	}
</script>

<style>
	.btn {
		margin-left: 100px;
	}
</style>
这样前后端代码就准备就绪了,再上面的代码中有两个需要注意的: 第一个问题是:notifyUrl使用的url是外网地址,并不是IP地址,否则会无法回调。但是在学习环境下使用不了外网地址。这就需要使用**NATAPP**。百度搜索NATAPp官网,点进去下载,它是一个natapp.exe 应用,这有这个。在官网注册账号,点击购买免费隧道(免费隧道只能购买两个,要珍惜哦。隧道协议写web,其他的就按要本地环境配置就可以了)。购买之后就会有下面一条自己的隧道

双击natapp.exe ,进入控制台,输入以下命令,开启隧道:
# 这里的值是上面的authtoken的值
natapp --authtoken=值
之后如下显示:

这里的外网连接地址,就是notifyUrl的地址,然后再加上方法mapping路径即可,如我的是:http://cv95x3.natappfree.cc/call
第二个问题是:支付成功后,回调函数执行了,如何告诉前端我已经支付成功,同时关闭扫描二维码按钮,这里就用到了websocket,这里不详细介绍websocket是什么,只要知道一点,它是可以监听到后端是否发送信息。首先在pom.xml中导入依赖:
<dependency>
 <groupId>org.springframework.boot</groupId>
 <artifactId>spring-boot-starter-websocket</artifactId>
 <version>2.3.4.RELEASE</version>
</dependency>
然后创建一个webconfig的配置类:
package com.example.zhifubaozhifu.util;

import lombok.extern.slf4j.Slf4j;
import org.springframework.context.annotation.Bean;
import org.springframework.stereotype.Component;
import org.springframework.web.socket.server.standard.ServerEndpointExporter;

import javax.websocket.OnClose;
import javax.websocket.OnMessage;
import javax.websocket.OnOpen;
import javax.websocket.Session;
import javax.websocket.server.ServerEndpoint;
import java.io.IOException;
import java.util.concurrent.CopyOnWriteArraySet;

/**
 * @desc: WebSocket服务
 *
 **/
//连接webSocket服务的URL
@ServerEndpoint("/bindingRecord")
@Component
@Slf4j
public class WebSocket {

 private Session session;
 private static CopyOnWriteArraySet<WebSocket> webSockets = new CopyOnWriteArraySet<>();

 /**
  * 新建webSocket配置类
  * @return
  */
 @Bean
 public ServerEndpointExporter serverEndpointExporter() {
  return new ServerEndpointExporter();
 }
 /**
  * 建立连接
  * @param session
  */
 @OnOpen
 public void onOpen(Session session) {
  this.session = session;
  webSockets.add(this);
  log.info("【新建连接】,连接总数:{}", webSockets.size());
 }

 /**
  * 断开连接
  */
 @OnClose
 public void onClose(){
  webSockets.remove(this);
  log.info("【断开连接】,连接总数:{}", webSockets.size());
 }

 /**
  * 接收到信息
  * @param message
  */
 @OnMessage
 public void onMessage(String message){
  log.info("【收到】,客户端的信息:{},连接总数:{}", message, webSockets.size());
 }

 /**
  * 发送消息
  * @param message
  */
 public void sendMessage(String message){
  log.info("【广播发送】,信息:{},总连接数:{}", message, webSockets.size());
  for (WebSocket webSocket : webSockets) {
   try {
    webSocket.session.getBasicRemote().sendText(message);
   } catch (IOException e) {
    log.info("【广播发送】,信息异常:{}", e.fillInStackTrace());
   }
  }
 }

}
然后使用的时候调用方法onMessage即可接收消息,使用onMessage即可广发消息。
前端使用步骤:
<script type="text/javascript">
 function WebSocketTest()
 {
  if ("WebSocket" in window)
  {
   alert("您的浏览器支持 WebSocket!");

   // 打开一个 web socket
   var ws = new WebSocket("ws://localhost:9998/echo");

   ws.onopen = function()
   {
   // Web Socket 已连接上,使用 send() 方法发送数据
   ws.send("发送数据");
   alert("数据发送中...");
   };

   ws.onmessage = function (evt)
   {
   var received_msg = evt.data;
   alert("数据已接收...");
   };

   ws.onclose = function()
   {
   // 关闭 websocket
   alert("连接已关闭...");
   };
  }

  else
  {
   // 浏览器不支持 WebSocket
   alert("您的浏览器不支持 WebSocket!");
  }
 }
</script>
想详细了解的话,可以去菜鸟教程学习。
使用思路: 前端先创建websocket , 连接到后端websocket ,这样才能将websocket通道连接。当支付成功之后,后端向前端反馈支付成功信息,前端监控接收到消息后做处理,即关闭二维码对话框。
测试结果:
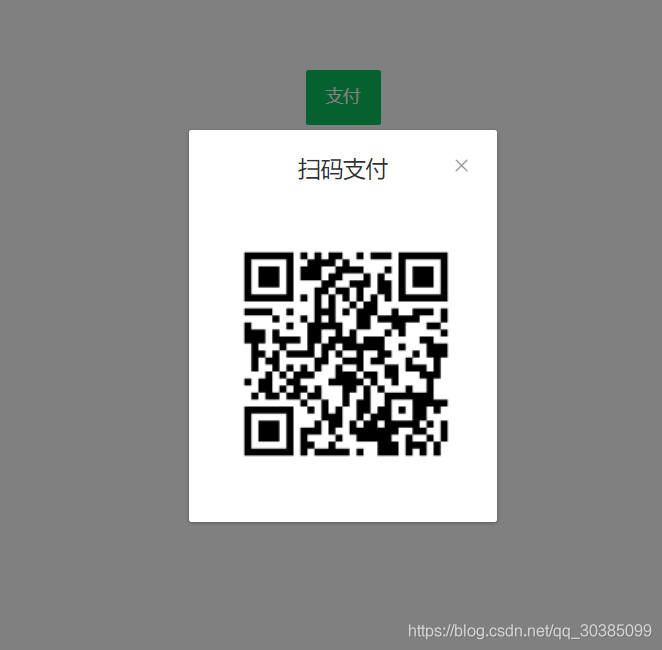
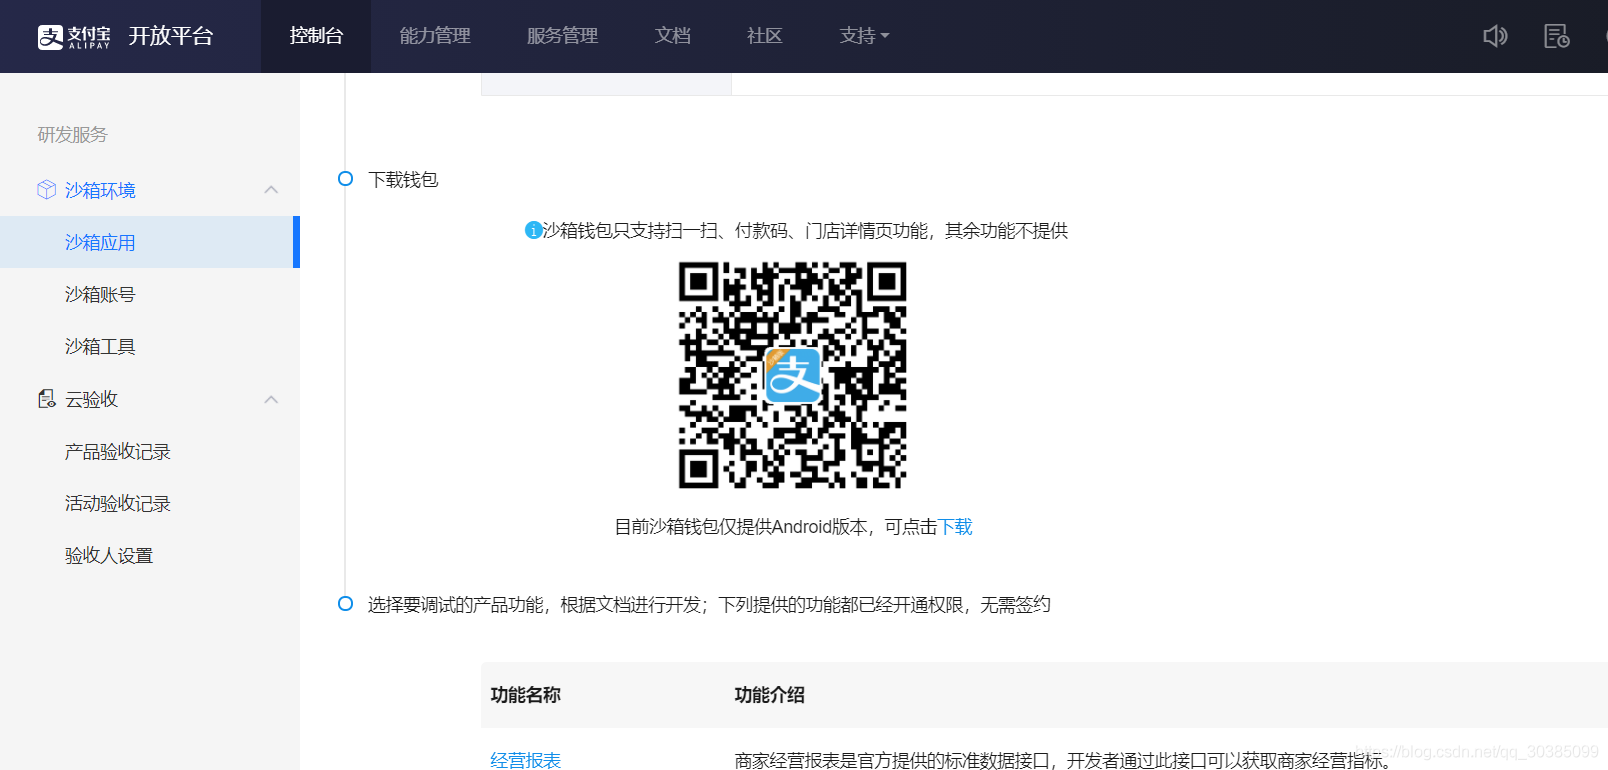
然后下载支付宝沙箱版手机即可扫描模拟支付,在蚂蚁金服的沙箱环境中就有二维码下载,如下图:
这里指记录了支付到回调处理的操作,再这之上还可进行进一步的封装。
搞定,记录结束。
结束时间:2020年10月15日6:12
到此这篇关于springboot+vue+对接支付宝接口+二维码扫描支付(沙箱环境)的文章就介绍到这了,更多相关springboot对接支付宝支付接口内容请搜索服务器之家以前的文章或继续浏览下面的相关文章希望大家以后多多支持服务器之家!
原文链接:https://blog.csdn.net/qq_30385099/article/details/109089450


