在使用myeclipse进行web开发时,每次访问页面都需要输入8080的端口号,
觉得非常繁琐,就想不输入端口号来访问页面,该怎么办,就把8080的端口号改为80就行了。
在使用myeclipse自带的tomcat时,修改时很容易的,只需要在window--preferences--myeclipse--service--
integrated sanbdox--myeclipse tomcat 6中修改端口号8080为80就可以了。
这里的myeclipse tomcat 6是myeclipse自带的tomcat.


在使用我自己下载的tomcat时,例如我使用我在tomcat官网上下载的apache-tomcat-6.0.48,就不能在这里修改端口号了。那么在哪里修改?
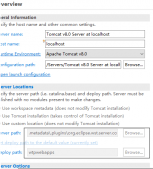
我先将apache-tomcat-6.0.48添加到我的myeclipse,找到
|
1
|
window--preferences--myeclipse--service--tomcat--tomcat 6.x |

我在myeclipse上找了很多地方,也在网上搜索了很多资料,如何修改myeclipse中tomcat 6.x的端口号,都是讲的修改myeclipse自带的tomcat的,修改我自己添加的apache-tomcat-6.0.48的端口号,很少有文章。不过我还是找到了一些文章,感谢网络上所有无私的分享者。现在就介绍一种。
我把web项目部署到tomcat 6.x,在servers下找到我的web项目,

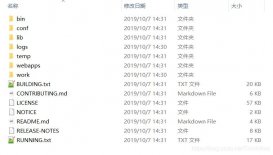
打开文件夹d:\apache-tomcat\apache-tomcat-6.0.48\webapps\computer_1,
在文件夹中返回到d:\apache-tomcat\apache-tomcat-6.0.48,
找到d:\apache-tomcat\apache-tomcat-6.0.48\conf目录下的server.xml文件

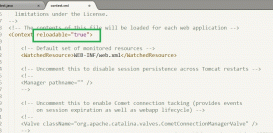
用editplus或记事本打开server.xml,找到:
|
1
2
3
|
<connector port="80" protocol="http/1.1" connectiontimeout="20000" redirectport="8443" /> |
将port="8080"修改为port="80",保存。就可以了。
重新部署web项目到tomcat 6.x,发布可以看到:

在浏览器中访问web项目的首页,不需要使用http://localhost:8080/computer_1才能访问项目了
使用http://localhost/computer_1就可以访问项目了

以上这篇在myeclipse中修改tomcat 6.x的端口号方法就是小编分享给大家的全部内容了,希望能给大家一个参考,也希望大家多多支持服务器之家。
原文链接:https://blog.csdn.net/MaoFachang/article/details/60324996


