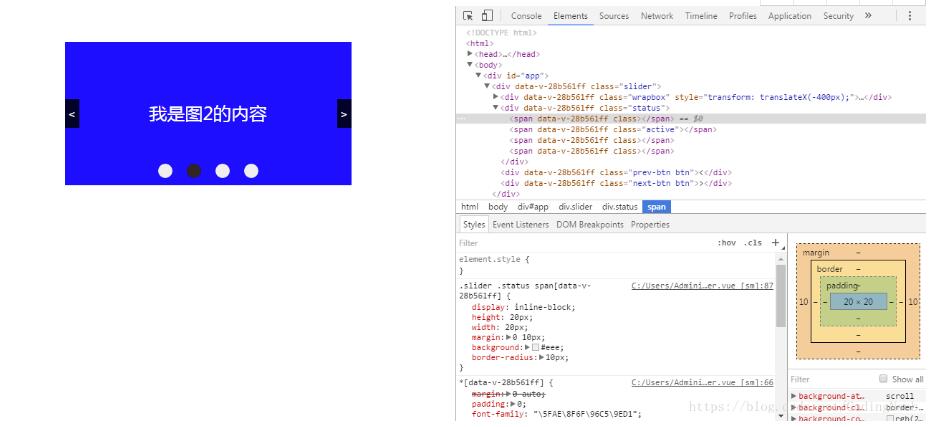
本文实例为大家分享了vue组件开发之slider组件的具体使用代码,供大家参考,具体内容如下

代码如下:
|
1
2
3
4
5
6
7
8
9
10
11
12
13
14
15
16
17
18
19
20
21
22
23
24
25
26
27
28
29
30
31
32
33
34
35
36
37
38
39
40
41
42
43
44
45
46
47
48
49
50
51
52
53
54
55
56
57
58
59
60
61
62
63
64
65
66
67
68
69
70
71
72
73
74
75
76
77
78
79
80
81
82
83
84
85
86
87
88
89
90
91
92
93
94
95
96
97
98
99
100
101
102
103
104
105
106
107
108
109
110
111
112
113
114
115
116
117
118
119
120
121
122
123
124
125
126
127
128
129
130
131
132
|
<template> <div class="slider"> <div class="wrapbox"> <div class="item" v-for="(item, index) in items" style="">{{item.title}}</div> </div> <div class="status"> <span v-for="(item, index) in items" v-bind:class="index == count ? 'active' : '' "></span> </div> <div class="prev-btn btn" @click="prev()"><</div> <div class="next-btn btn" @click="next()">></div> </div></template><script> export default { name: 'slider', data (){ return { count: 0, items:[{ name:"1", id:1, title:"我是图1的内容" },{ name:"2", id:2, title:"我是图2的内容" },{ name:"3", id:3, title:"我是图3的内容" },{ name:"4", id:4, title:"我是图4的内容" }] } }, components: { }, methods: { prev () { console.log(this.count); if(this.count > 0){ this.count--; document.querySelector(".wrapbox").style.webkitTransform = "translateX(-" + (this.count * 400) + "px)"; }else{ this.count = 0; } }, next () { console.log(this.count); if(this.count < 3){ this.count++; document.querySelector(".wrapbox").style.webkitTransform = "translateX(-" + (this.count * 400) + "px)"; }else{ this.count = 3; } } }, created () { } }</script><style scoped> *{margin:0 auto;padding:0;font-family:"微软雅黑";} .slider{ position:relative; height:200px; width:400px; margin:50px auto; overflow:hidden; } .slider .wrapbox{ width:1600px; height:200px; transition:all 1.5s; } .slider .status{ position:absolute; top:170px; height:20px; width:400px; text-align:center; } .slider .status span{ display:inline-block; height:20px; width:20px; margin:0 10px; background:#eee; border-radius:10px; } .slider .status span.active{ background:#352929; } .slider .wrapbox .item{ float:left; height:200px; width:400px; line-height:200px; text-align:Center; color:#fff; font-size:25px; background:red; } .slider .wrapbox .item:nth-of-type(2){ background:blue; } .slider .wrapbox .item:nth-of-type(3){ background:yellow; } .slider .wrapbox .item:nth-of-type(4){ background:green; } .slider .btn{ position:absolute; top:50%; height:40px; width:20px; line-height:40px; color:#fff; text-align:center; background:rgba(10, 10, 10, .85); transform:translateY(-50%); cursor:pointer; } .slider .next-btn{ right:0; }</style> |
以上就是本文的全部内容,希望对大家的学习有所帮助,也希望大家多多支持服务器之家。
原文链接:https://blog.csdn.net/CodingNoob/article/details/80045241


